Investigating and Storing Images
There is something not quite right about the pixel X/Y calculation, and I posted in channel about that. Students haven't noticed so far but someone will point it out soon, I'm sure. - Pamela 9/10/21
The use costume block does not appear to be in this project. Also, the image of it below needs to be resized. --MF, 4/11/22
Also, we need to resize all of the images in the lab going forward (and perhaps those coming from other labs as well.) --MF, 4/11/22
Consider splitting up this page (and others in this lab). Also try to make the lab less didactic. --MF, 7/24/23
In this activity, you'll get a close-up look at the pixels in an image and see how the pixels are stored and how to access them.
As you've discovered, the images on a screen are made up of pixels (tiny squares of color). Using a few powerful blocks, you can transform the pixels in a picture to make fun filters.
Checking Out Some Pixels
- Open this Image Filters project, and save it to your account.
-
This
use costume block switches the sprite costume (the image shown on the stage). Choose a costume from the dropdown menu, and click the block. Try a few different costumes until you find one you like.

-
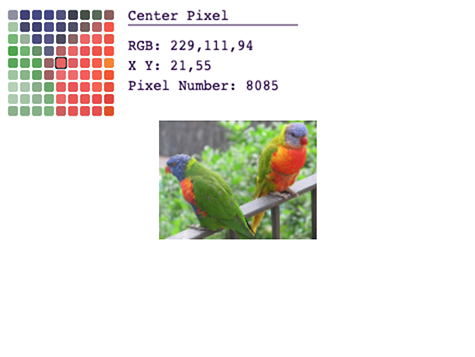
Now move your mouse to the stage where the image appears, and hover over the image. A grid of pixels will appear in the corner, showing you the pixel under your cursor plus the pixels around it (zoomed in). Explore the image with your mouse pointer. Do any of the pixels surprise you?
The three RGB values show the amount of red, green, and blue in the pixel under the mouse pointer.
The XY values are the horizontal (x) and vertical (y) positions of the mouse pointer.
Pixel Number identifies the number of the pixel under the mouse pointer. (The pixels are numbered starting from the top left corner, going across the first row of pixels, and then moving down to each of the following rows.)
:
Sprites and
Costumes
A sprite is an object that has scripts and a costume and can even move around on the stage.
Mary, this image still needs an update. --MF, 9/13/21
This project has two sprites: the Image sprite (in the center of the stage), and the PixelGrid sprite (in the top left). The Image sprite has the code you'll be playing with, and the PixelGrid sprite has the code that makes the grid of pixels.
Click for an image of the stage and the sprites.
A costume is picture that can be "worn" by a sprite.
Each sprite has a current costume and perhaps other possible costumes. The use costume block switches the Image sprite's current costume to the costume selected in the dropdown menu.
Try Your Own Image
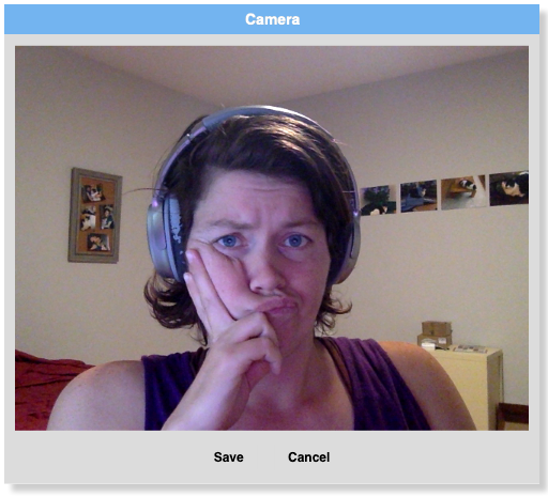
These are optional extra steps for anyone who has access to a webcam or has a own photo of their own.
How Are Pixels Stored?
Computers store pixels as a list of RGB values (as you've seen) and store images as a table of pixels (a list of lists).
-
Click the
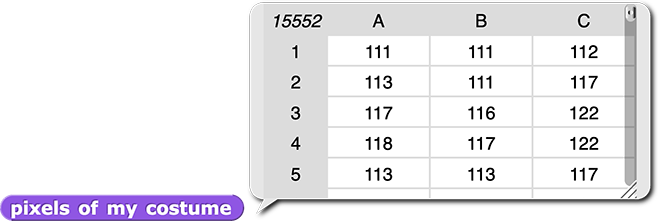
pixels of my costume block. It reports a (very long) table of pixel values.
:
Table
A list is an ordered sequence of items, and a table is an ordered sequence of lists. So, a table is a list of lists. Each row in a table is another smaller list.
The output of the pixels of my costume block is a table with three columns. Each row is one pixel from the image (each with red, green, and blue values), so the three columns in the table are the amount of red, green, and blue in each pixel of the image.
Once day, a picture might be nice inside this hint. --MF, 9/13/21
Click for instructions for viewing a table as a list of lists.
Click the pixels of my costume block, and then right-click the table that appears and select "list view...". You will see the exact same data displayed as a list of lists. (You can right-click the over-arching list and select "table view..." to see the data as a table again.)
Selecting One Item from a List
Because a table is a list, you can use the  block to select one row of RGB values from the table (that is, one pixel from the list). You have seen
 item of select a random item from a list:

Since each item in the output of the pixels of my costume block is one pixel, you can use item of to retrieve the list of color values for one pixel at at time.
-
The expression below reports the very first pixel from the table. Click it to see a list of the RGB values for the very first pixel in the costume (the pixel in the top left corner).

The output of the expression item (1) of (pixels of my costume) is a list of three values: the amount of red, green, and blue in the first pixel of the costume.
- Move your mouse over the image on the stage again. Choose any pixel and write down its pixel number and RGB value.
-
Change the first input to the expression
item (1) of (pixels of my costume) (that is, change the "1") to the pixel number you wrote down, and run that code again. The output should match the RGB value you wrote down.

- What does the
item of block do?
- What is the output of
pixels of my costume that becomes the input to item of?
- Describe why the expression
item of (pixels of my costume) reports what it does.
In this activity, you learned about sprites and costumes, saw how pixels are stored as lists of color values and images are stored as tables of pixels, and learned how to use item of to select one item from a list.


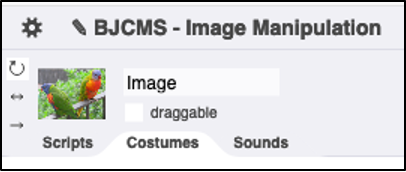
 ). The browser may ask you for permission and then give you a way to snap a photo. Say cheese! Alternatively, if you have a photo on your computer, drag it into the "Costumes" area.
 block to select one row of RGB values from the table (that is, one pixel from the list). You have seen