-
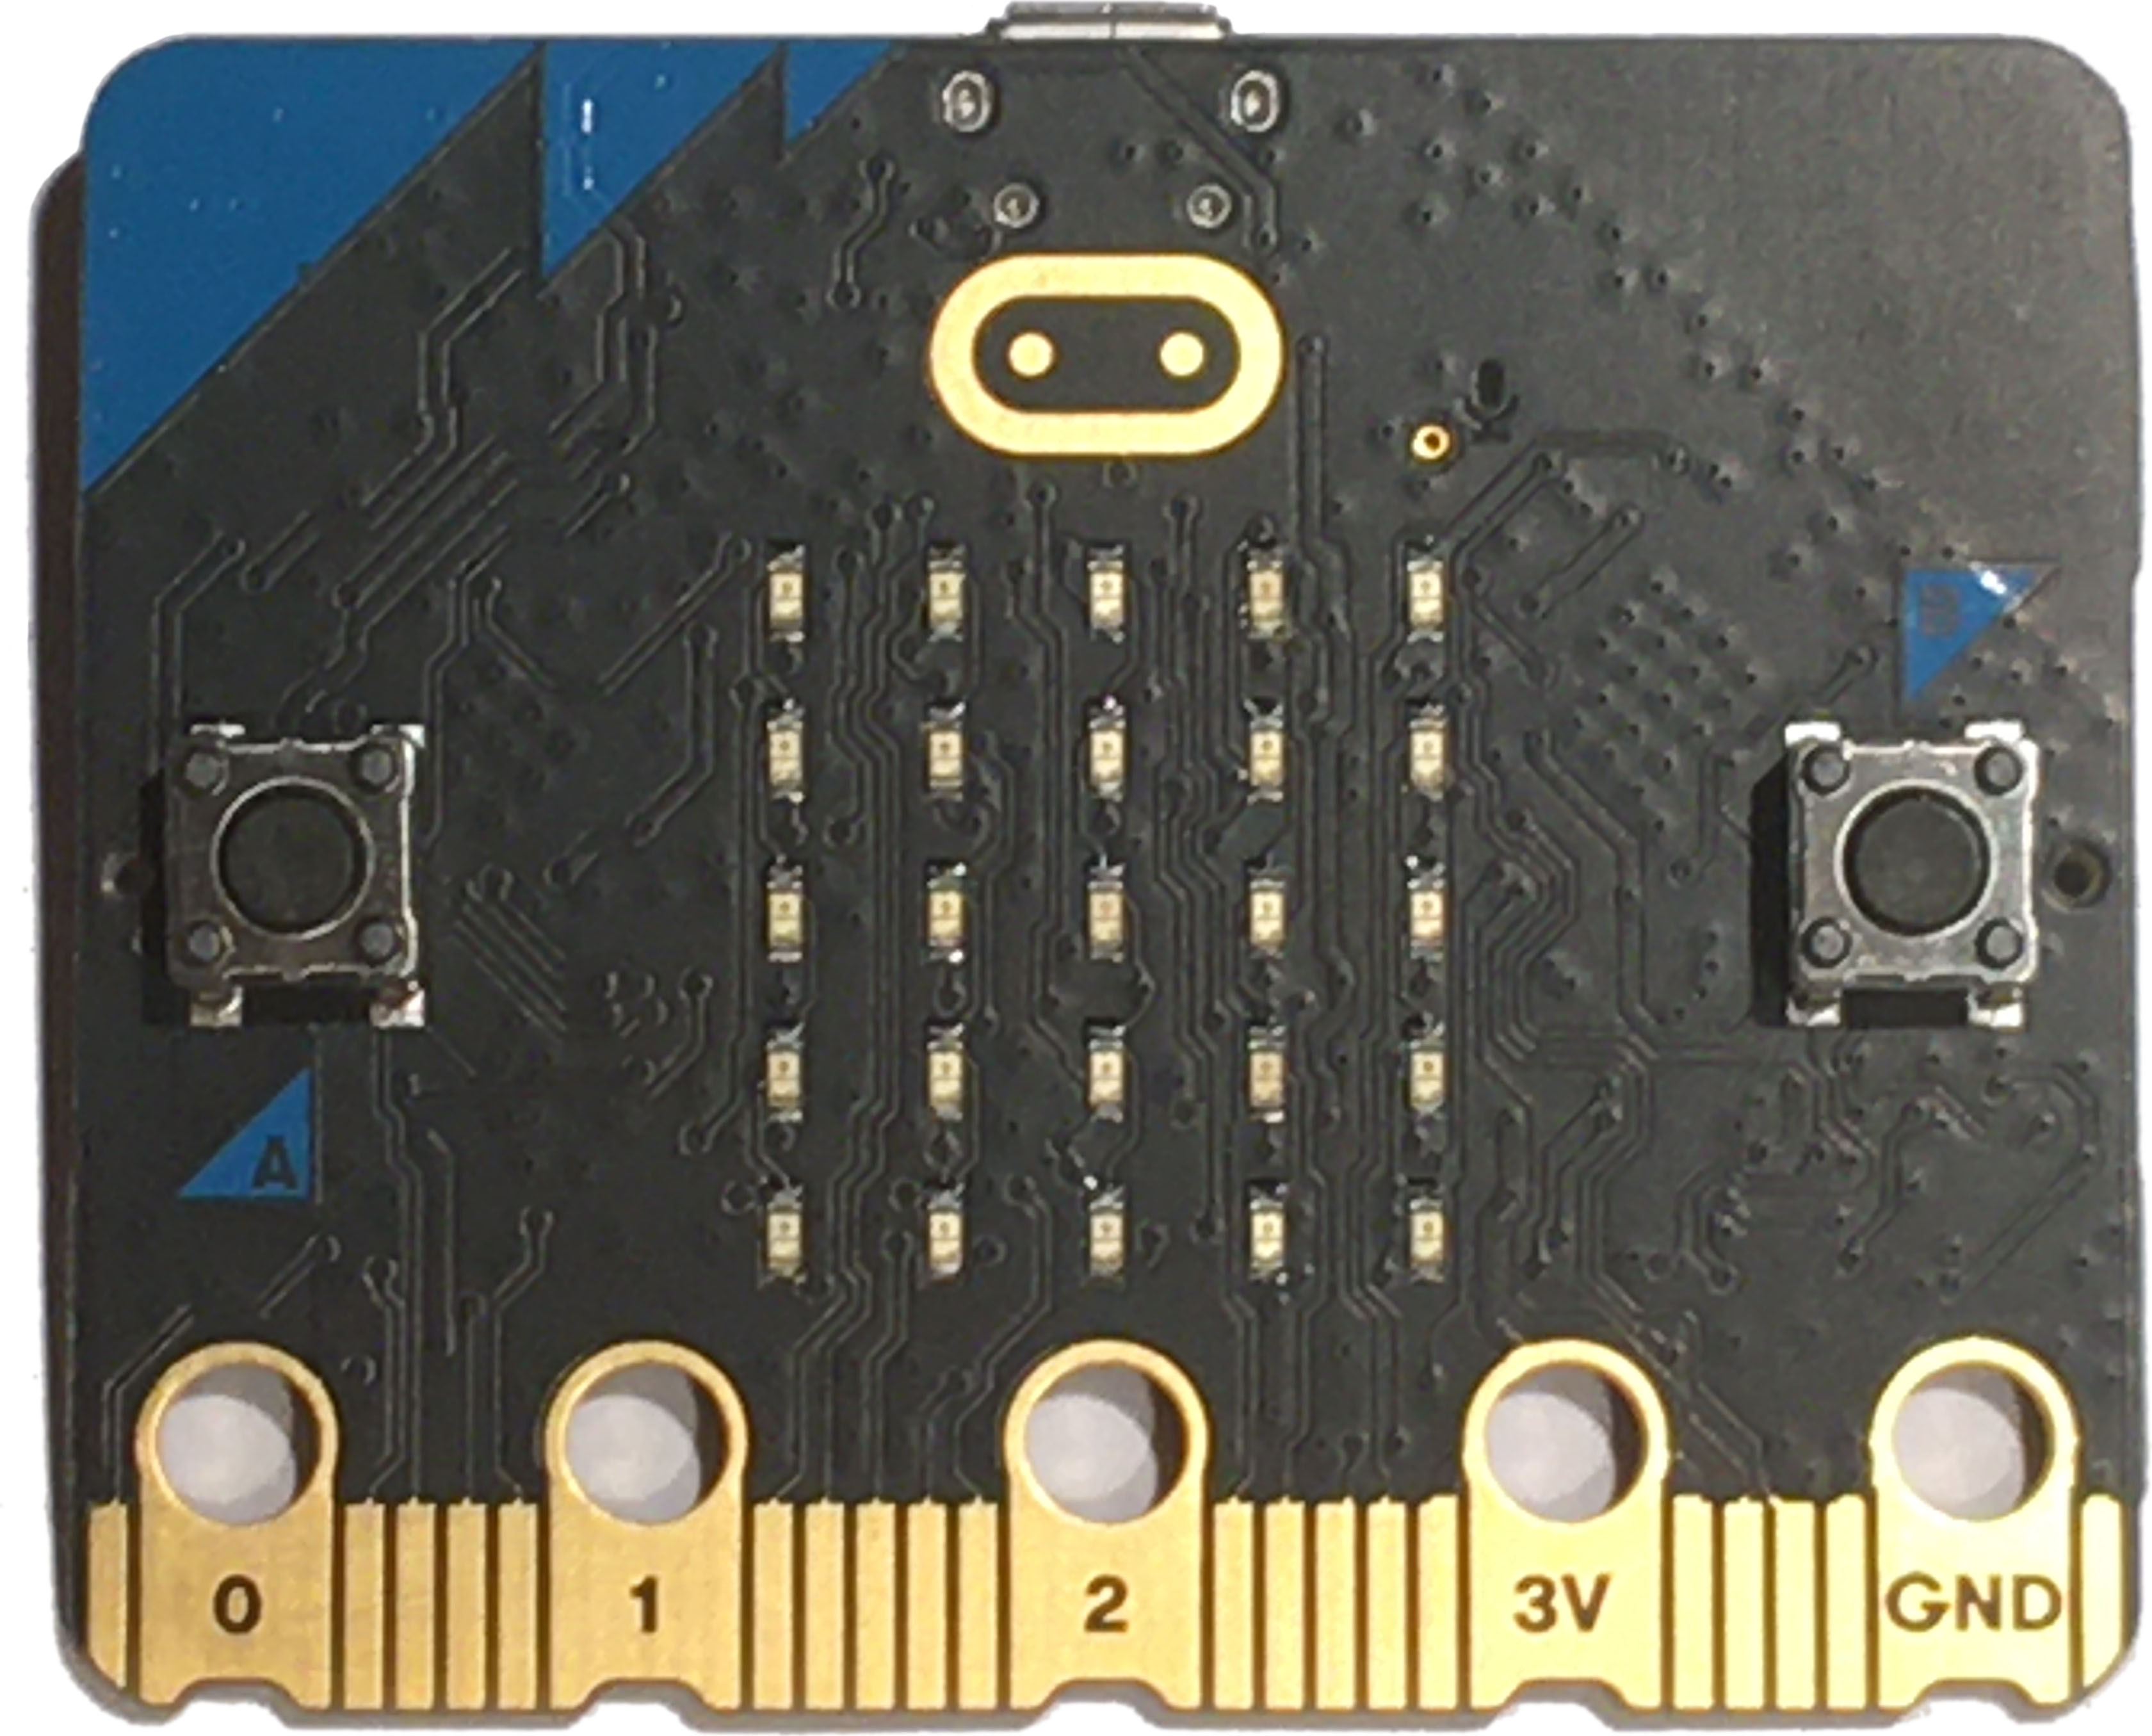

- micro:bit
- USB cable
- Battery pack (optional)
I'd like to rename this something like "Setting Up Your micro:bit." I'd also like to consider breaking this into multiple pages: "Using the Display Block" and "Saving Your Project" seem like they could each stand alone, if not also "Adding Blocks," which I'd like to rename "Adding a Library" and cover some of the library standard there. --MF, 3/16/22
2-AP-16: Incorporate existing code, media, and libraries into original programs, and give attribution. Building on the work of others enables students to produce more interesting and powerful creations. Students should use portions of code, algorithms, and/or digital media in their own programs and websites. At this level, they may also import libraries and connect to web application program interfaces (APIs). For example, when creating a side-scrolling game, students may incorporate portions of code that create a realistic jump movement from another person's game, and they may also import Creative Commons-licensed images to use in the background. Students should give attribution to the original creators to acknowledge their contributions.
MARY TODO: go through U3 workshop notes and add any suggestions about trouble-shooting that we ran into in the PD. --MF, 3/16/22

For this unit, you'll use a program called MicroBlocks, a Snap!-like programming language designed to control tools like micro:bit.
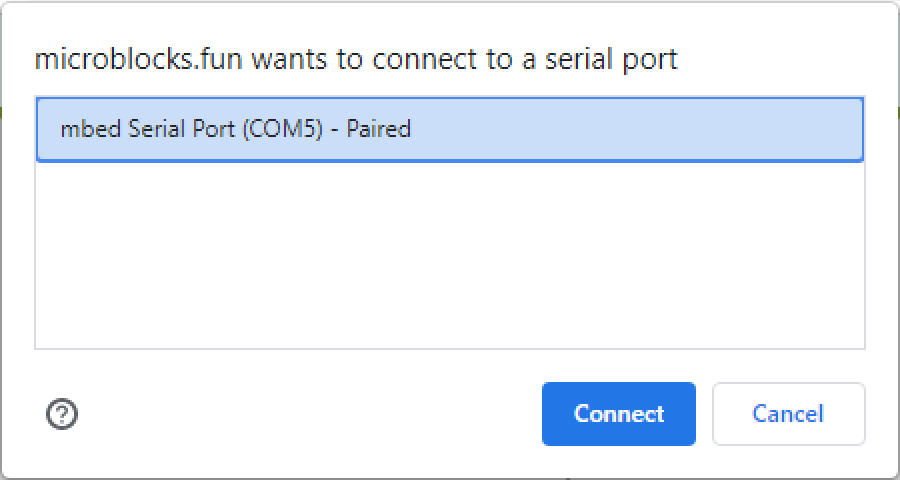
Chrome supports connecting a micro:bit to your web browser.
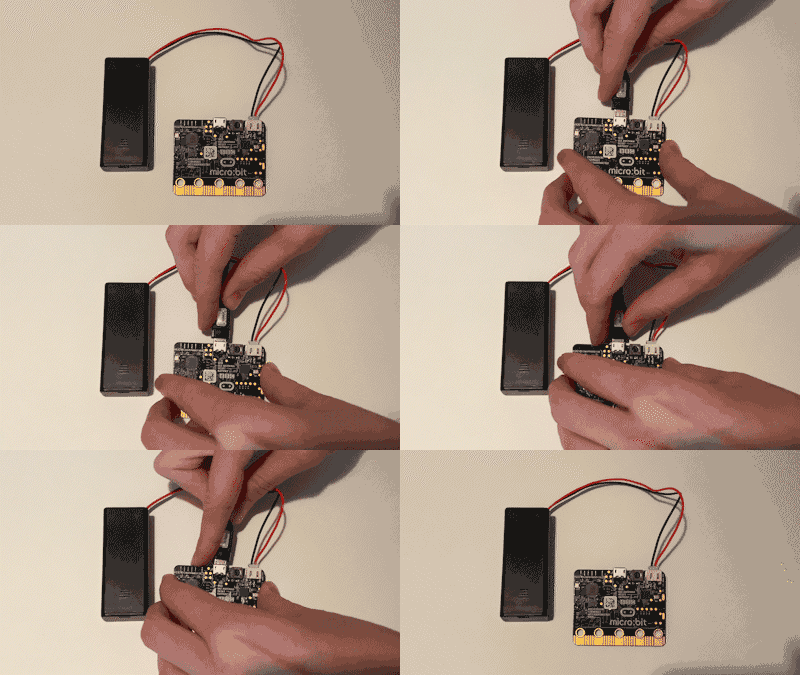
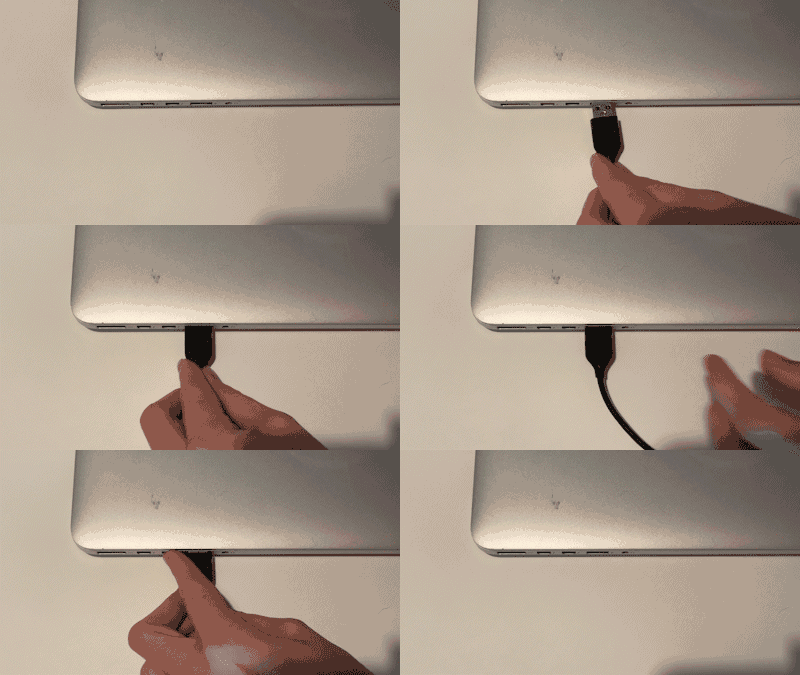

A software library is a collection of procedures (blocks) that can be used in programs.
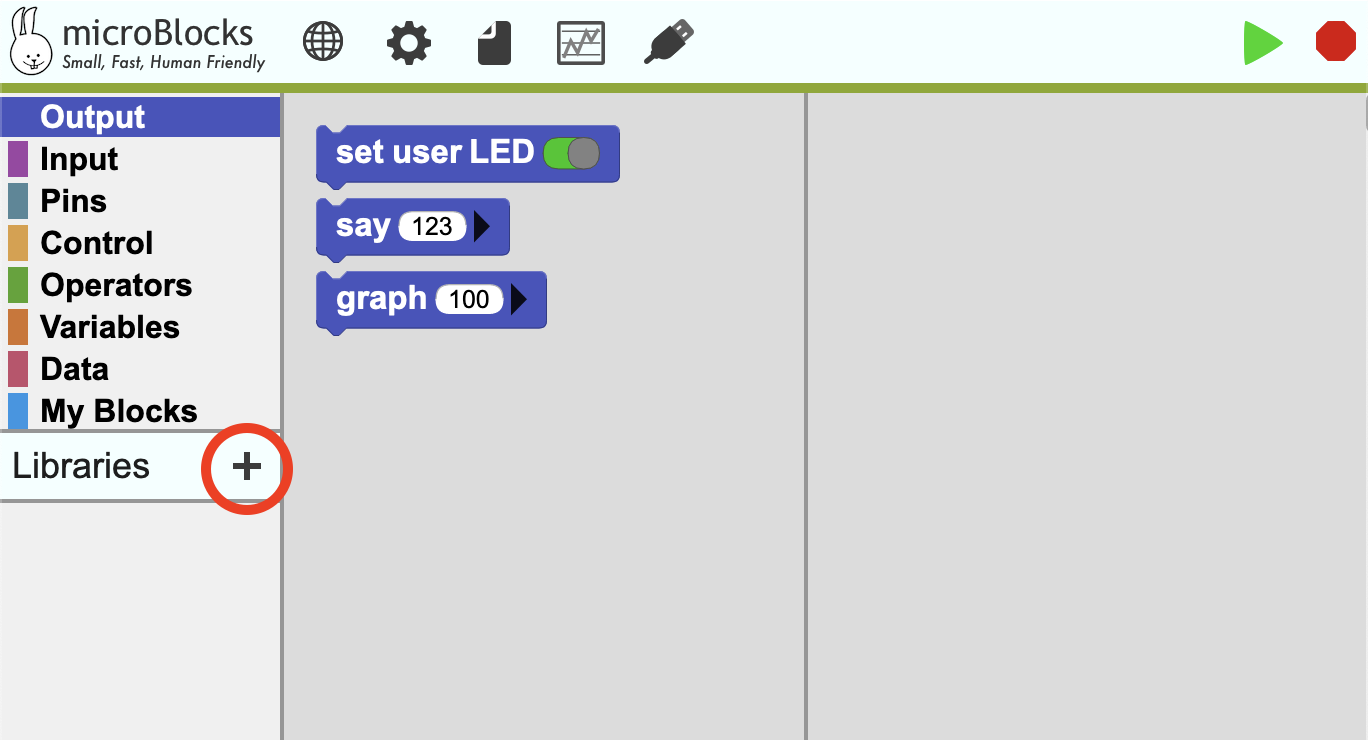
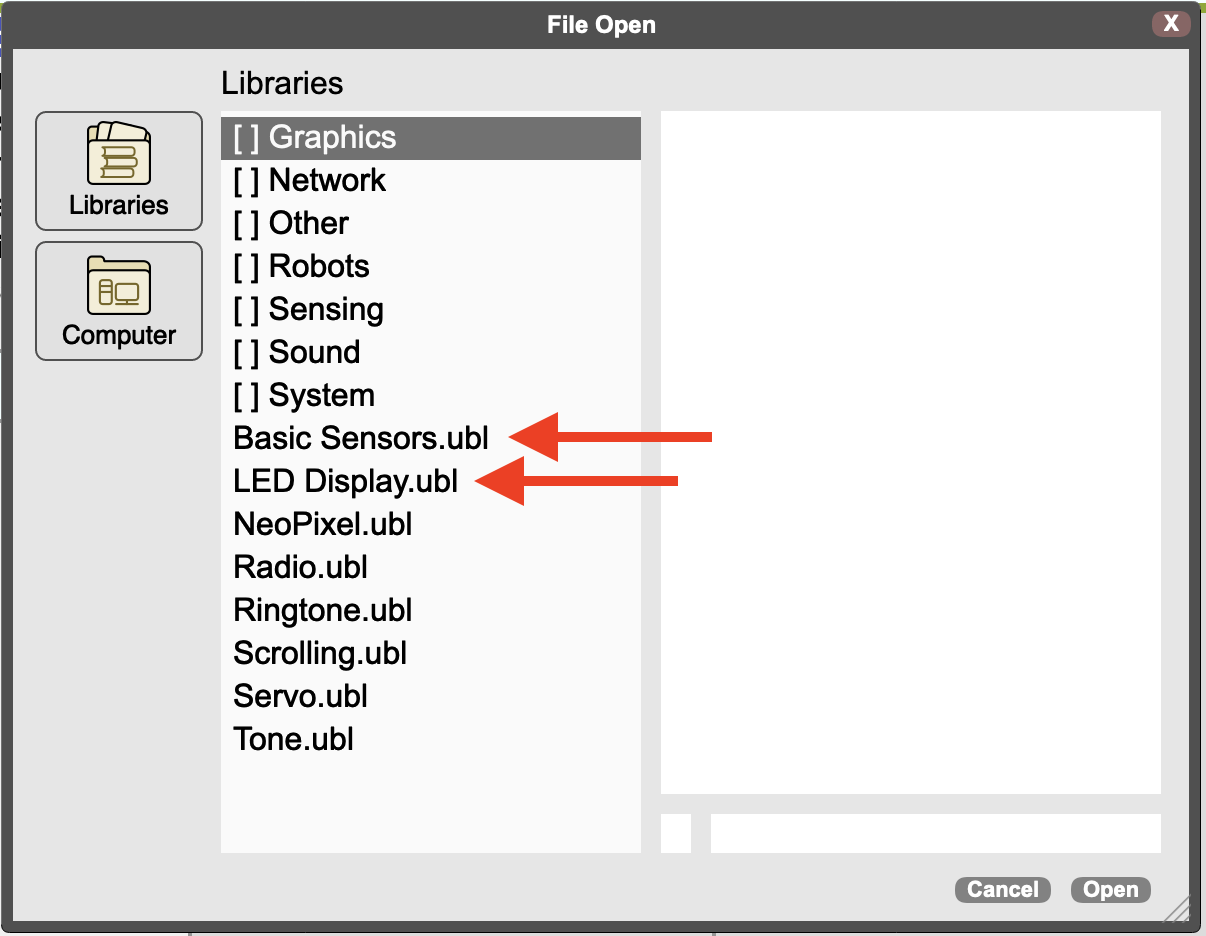
Your micro:bit is now connected, but you'll need to add more blocks to program it. You'll do this by adding a couple of libraries to MicroBlocks.
Display Block
One block that's unique to micro:bit is the display block. It's designed to look like the grid of LEDs on the front side of the board. There are 25 LEDs that you can turn on and off individually.

display block into the Scripts area (the large open area on the right), and design your own pattern by clicking the LED rectangles to turn them on or off.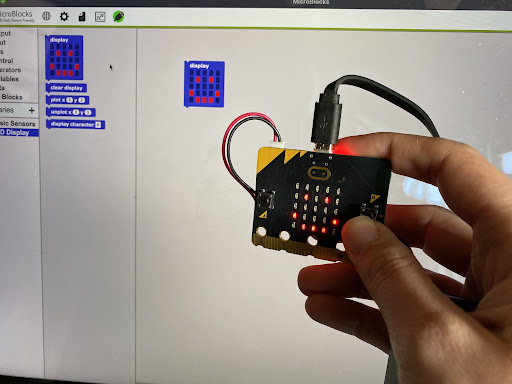
Saving in MicroBlocks is different from saving in Snap!.
 ).
).A file will download to your computer that you can open using MicroBlocks later.