Tiny Animation
This page could also be split into two pages. That would make for 6 activities in this lab total, and I think that better matches our other labs. Deanna, if you agree with these changes, I'll go back and make the cuts and flesh out the TG a bit more after I finish reviewing the rest of 3.2 and make some progress with 2.2. :) --MF, 3/16/22
In this activity, you'll write a script make an animation appear on the LED screen by switching between two screens.
To start, you'll make an animation flipping between a smile and a frown.
Deanna, do you have a plan for saving projects and creating accounts with MicroBlocks (e.g. Creating a Snap
! Account on
1.1.3 or Loading and Saving on
1.1.4)? That should added early in U3 (e.g., on 3.1.1). Then we can use the similar naming/saving/opening language as in other units. I also think we should include a link to MicroBlocks at the start of the page. --MF, 1/28/22
Make an Interactive Animation
So far, your animation changes on its own, but you can control when it changes for example, by using the micro:bit's LEDs as light sensors. The LEDs can detect different levels of light, and you can program the micro:bit to change the animation depending on how much light they detect.
-
Use an
if block together with a light level block to change the image on the LED screen based on the light detected.
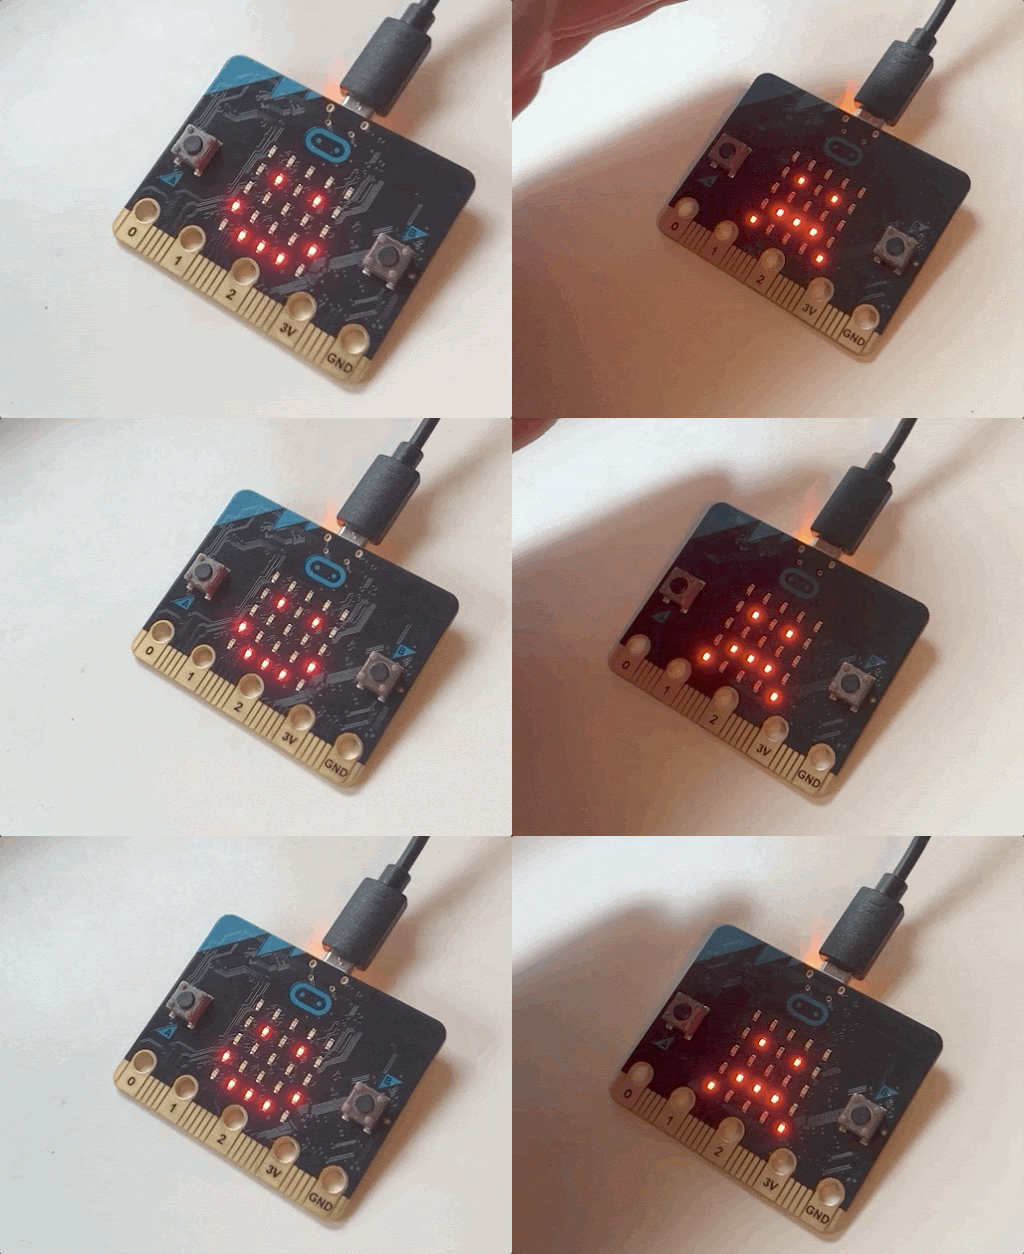
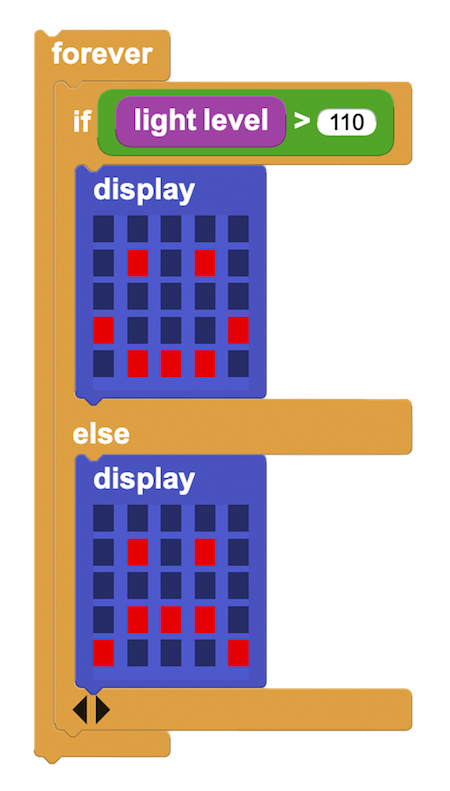
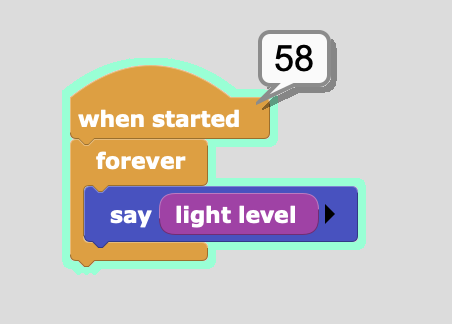
Tip: Light levels vary greatly depending on the room that you're in, so you'll need to experiment with values for your program considers bright or dark, and you may need to change it later for a different room. One way to do this is to use the
say block.
Click for a picture.
- Make a more complicated animation by adding more
display blocks or varying the wait time.
- Make a nametag:
- Use some of the other blocks in the "LED Display" library to display your name on your micro:bit. You can do this one letter at a time, or scrolling across the screen.
- Save your project to your micro:bit (your micro:bit appears as a drive on your computer). Then click on the USB icon with the green circle at the top of the page, choose "disconnect," physically unplug the micro:bit from the computer, and connect a battery pack to have a portable digital nametag.
In this activity, you used display blocks together with forever, wait, and light level to create animations controlled by pauses and by light.
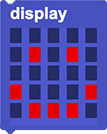
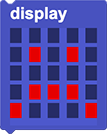
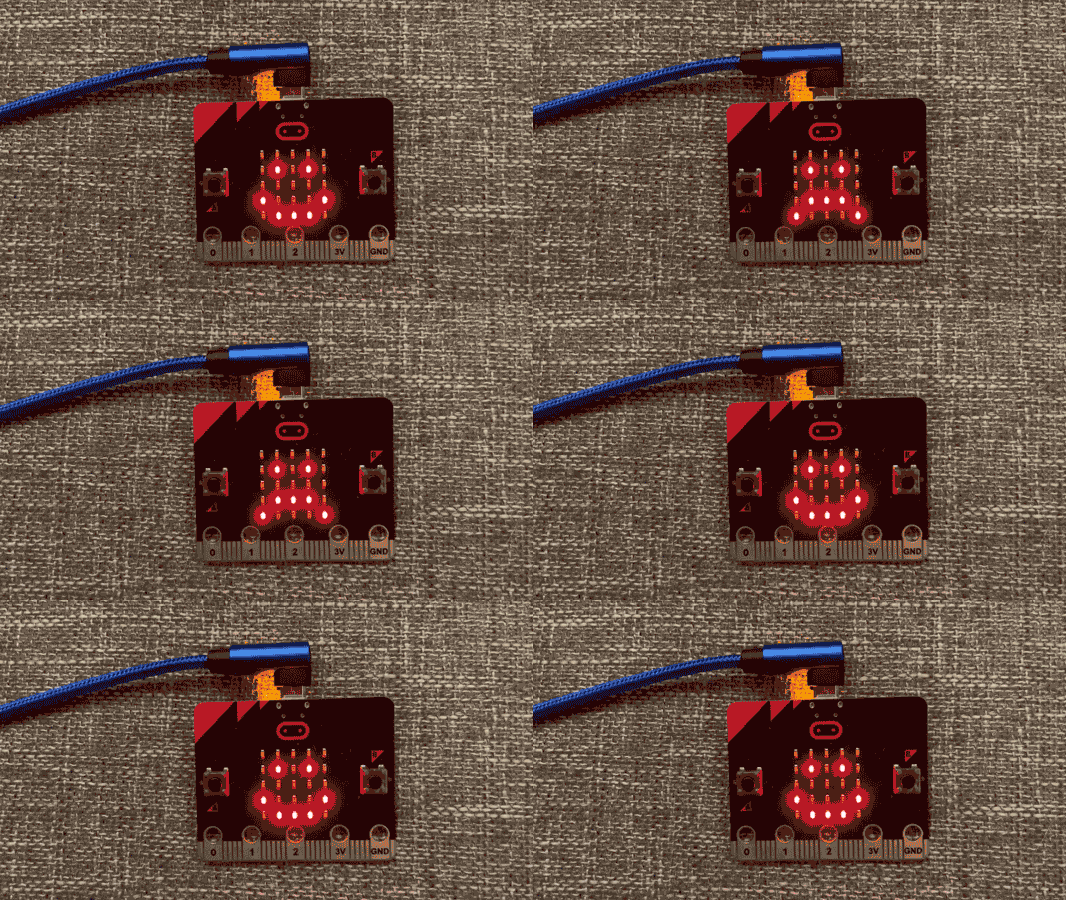
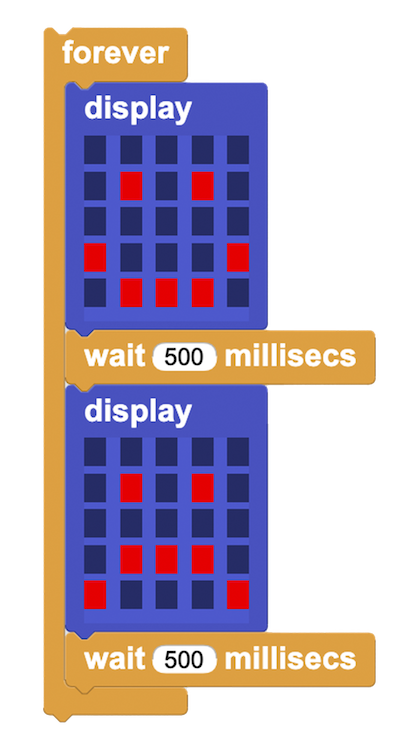 Tip: Animations are a rapid sequence of images displayed in a row. To bring your face to life, you'll need to switch between

