Servo Project
In this activity, you'll create your own servo project using the Bit Board, MicroBlocks, and general making materials.
Before diving into your servo project, take some time to brainstorm independently and discuss your project idea with a classmate.
-
Brainstorm how you want to incorporate motion into a project and what supplies you'll need to accomplish your idea.
 Talk with a nearby classmate about your idea, and listen to theirs. Ask yourselves the following questions:
- Describe the story of what will happen. What's the order of events?
- Does a person need to interact with the story? If so, how?
- Describe the movement? How will it start? How will it stop?
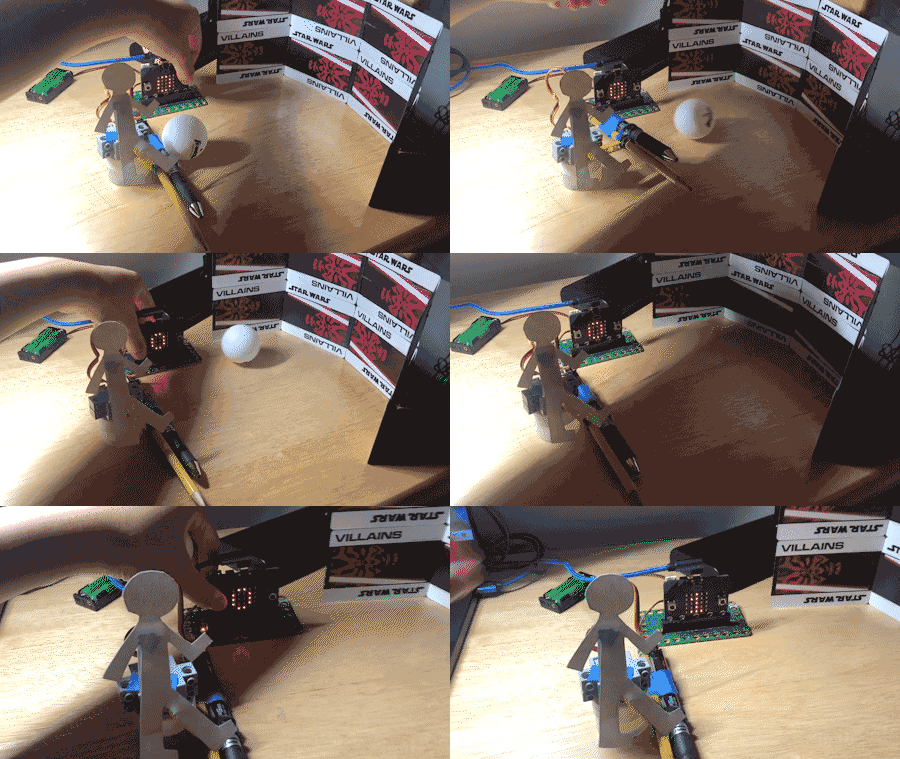
Example 1: Goal!
Make a game using servos, like this soccer game. The servo controls the player's leg, which can then kick the ball into the goal. Keep track of the score on the micro:bit by pressing the A button the mark each point.
Tip: To keep track of the score, this project uses
variables, which were introduced in Lab 3 Activity 1: Game Design.


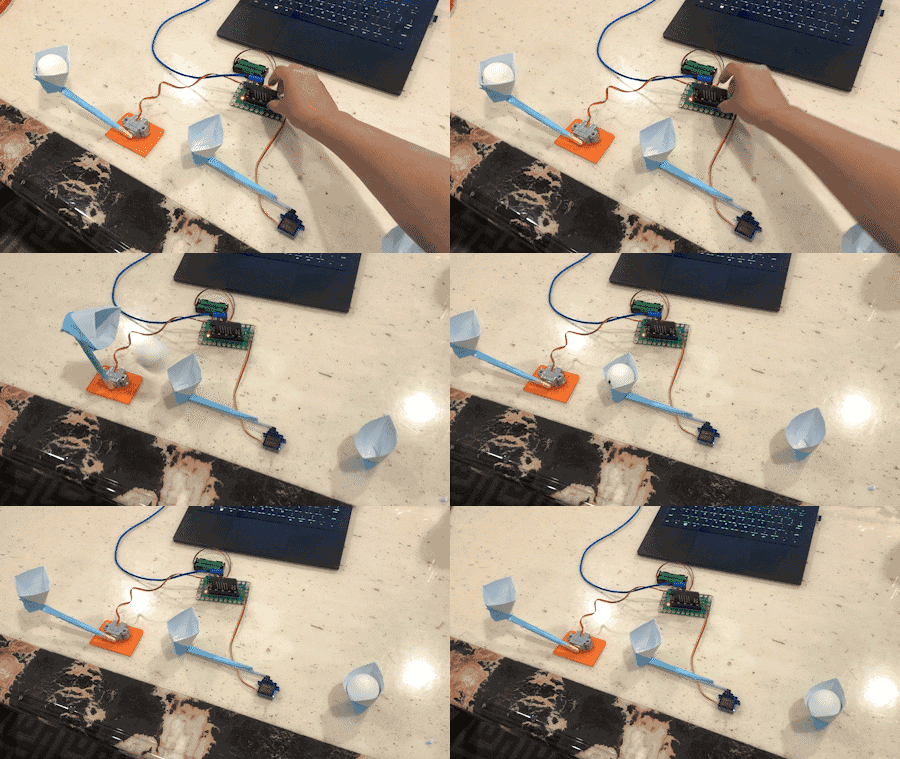
Example 2: Pass the Ball
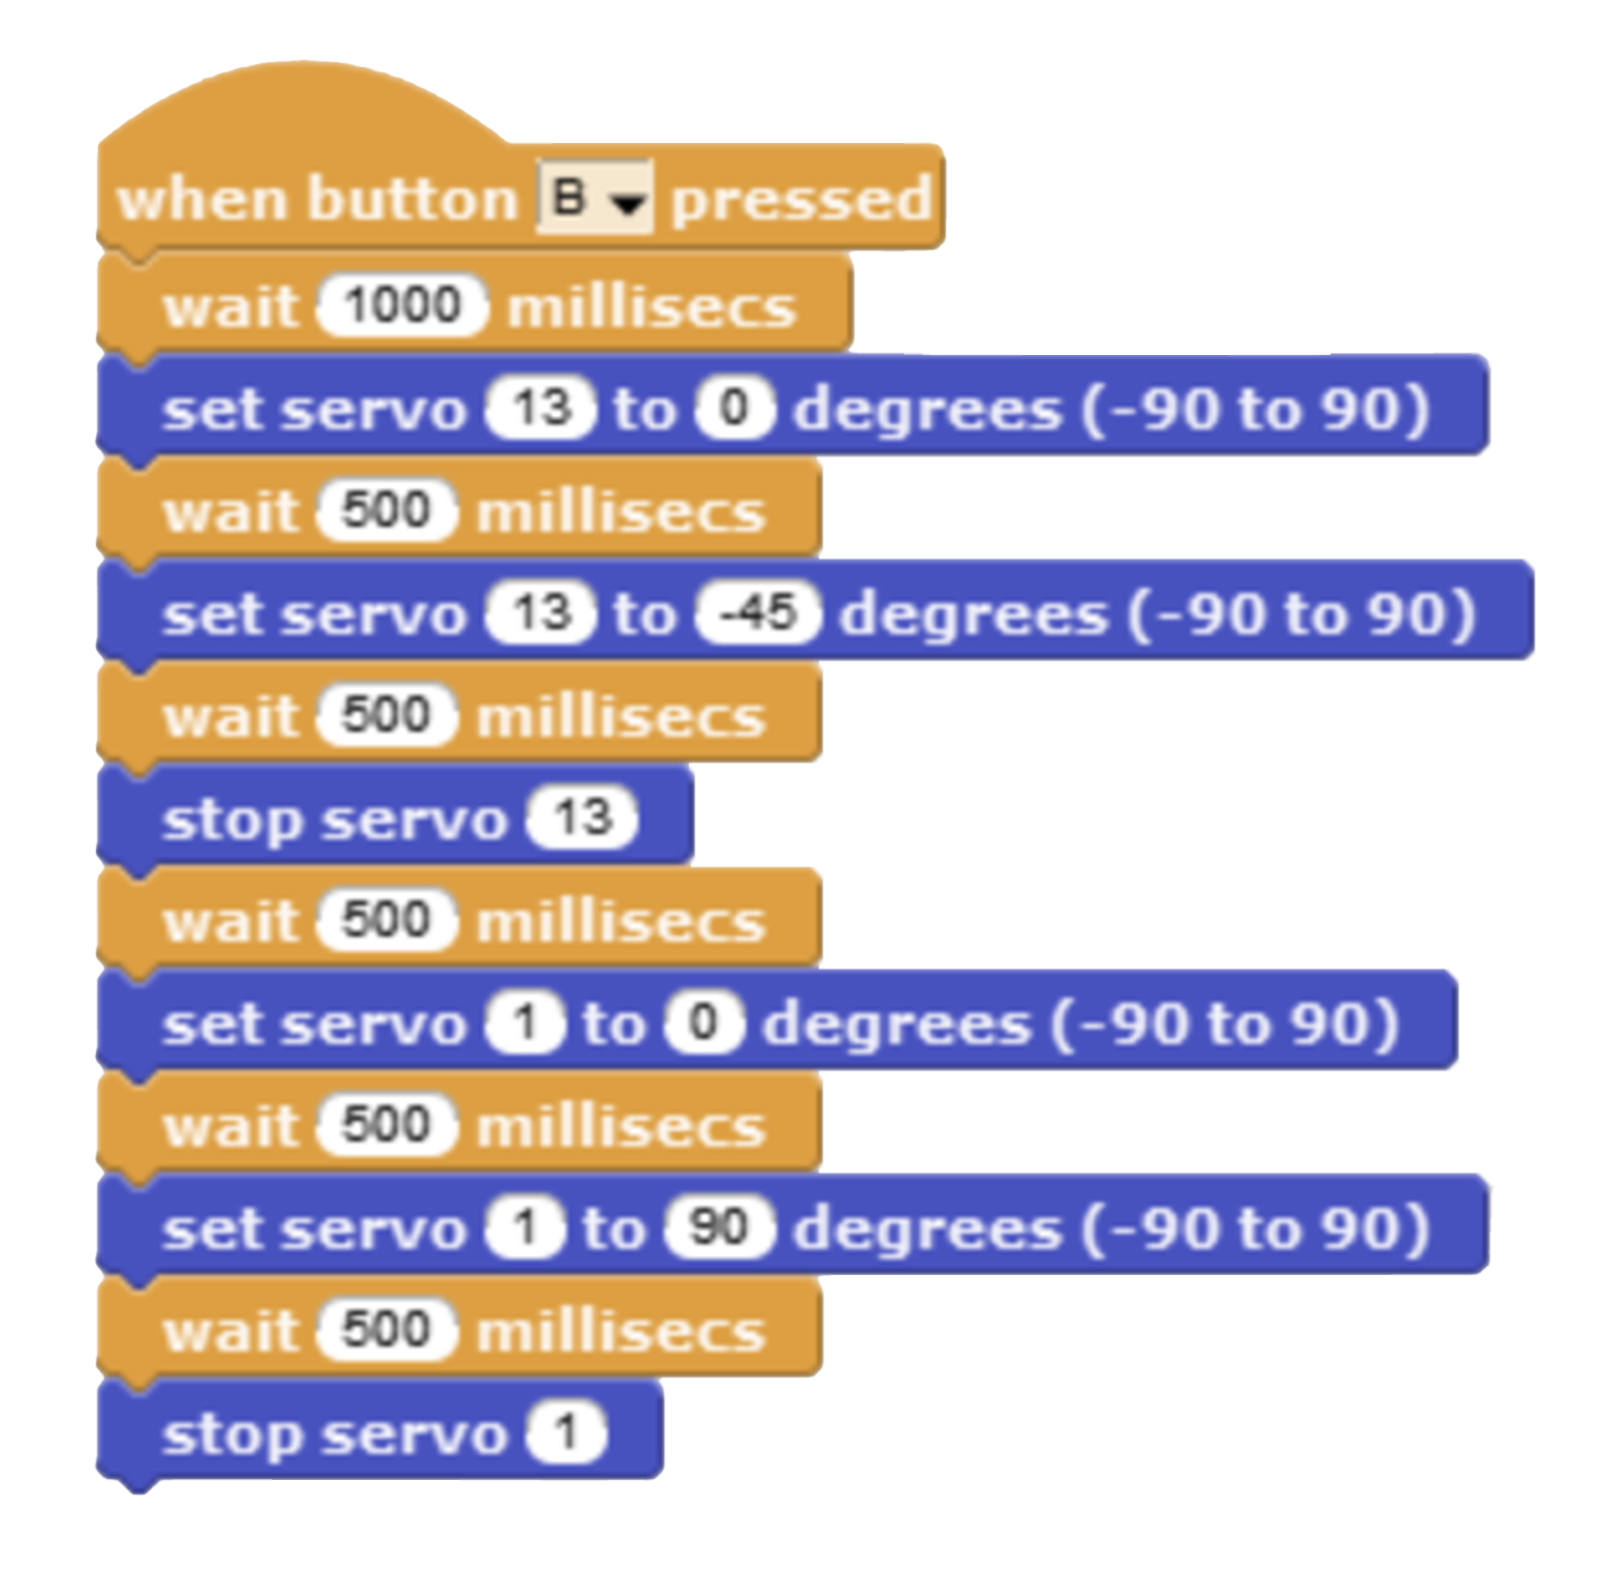
Move a ball from one end of a table to the other by passing it between servos. These servo arms are extended and modified with a cup on the end to hold a small ball. Start the sequence of events by pressing the B button on the micro:bit, which then initiates the servo arms to pass the ball from one cup to another.


-
Create your servo project using MicroBlocks and physical materials.
- Share your project with others and make changes, if desired.
Make another project with a servo motor. If possible, add a second servo and make a project that incorporates both.
In this activity, you created your own unique project using servo motors and controlled them with code.
 Talk with a nearby classmate about your idea, and listen to theirs. Ask yourselves the following questions:


