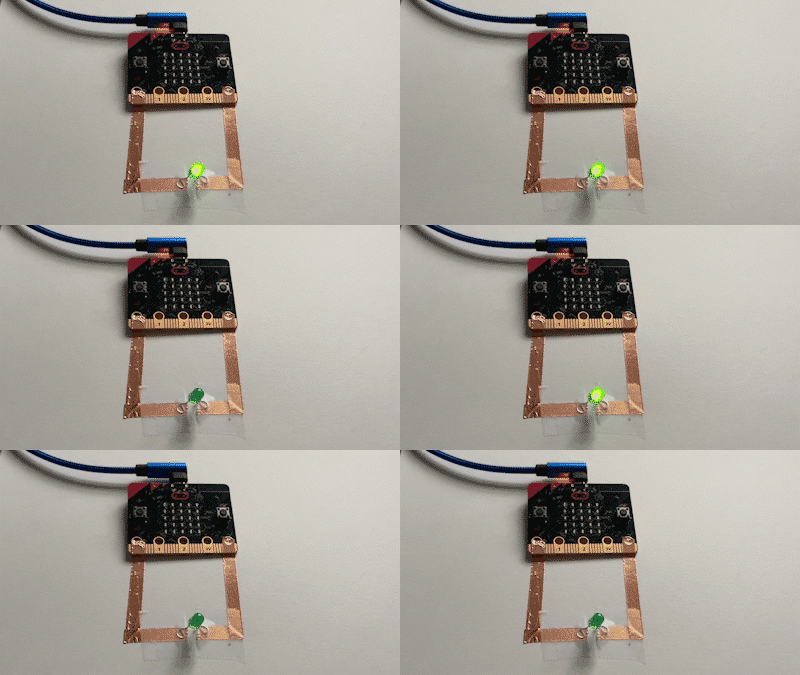
- Place two pieces of copper tape on the micro:bit on a piece of paper.
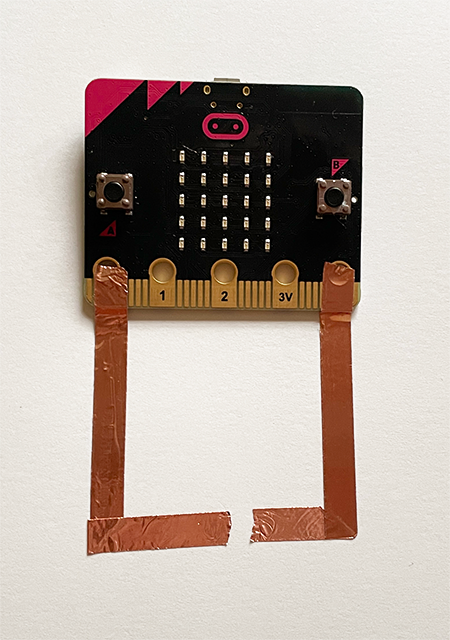
Before writing code in MicroBlocks, set up your micro:bit on a piece of paper. Use two pieces of copper tape to make your connections. One piece of tape will start at pin 0 and the other will start at GND.

Test your set up by adding an LED with the following starting code. Make sure that the positive side of the battery is connected to pin 0 and the negative side of the LED is connected to GND.
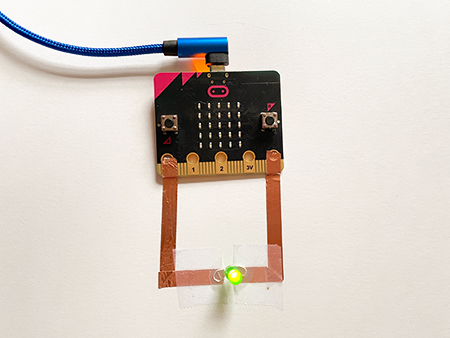
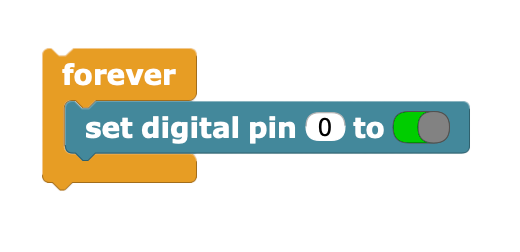
After testing that your LED turns on, you'll modify to the code so it blinks on and off. The code from the test uses a block set digital pin ... to ... which controls when electrical current is sent into a specified pin. Choose which pin to send current (0, 1, or 2) and whether there should be current (green toggle for on, red toggle for off).
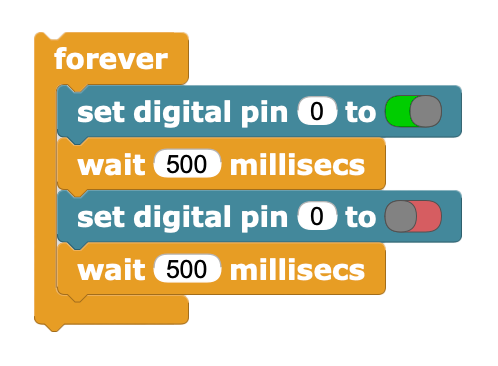
set digital pin block. Once you have a custom blink pattern, use one of the micro:bit inputs from a previous lab to start turn on your light.