Paper Story
In this activity, you'll make your own paper creation that uses programmed lights to tell a story.
Plan Your Project
Brainstorm what story to tell using paper and lights. Use a pencil and sketch what it will look like.
-
 Think first on your own and then discuss with a partner:
- What story do you want to tell? What materials do you need to create your story?
- Where will the micro:bit go? Where will the copper tape and LEDs go?
- What pattern will the LEDs display? Will they use an input?
-
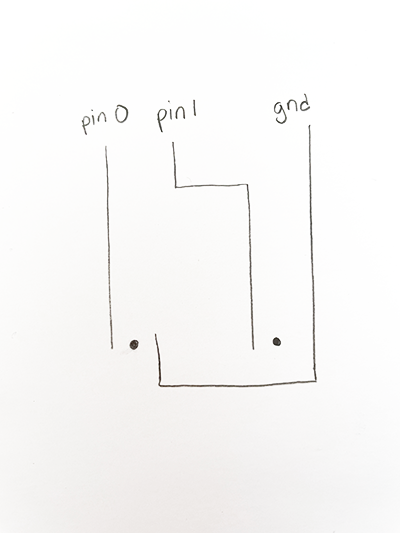
Place your micro:bit on a piece of paper and draw in pencil where to place your copper tape and LEDs. Take a look at the tips below for how to add multiple LEDs and how to layer pieces of copper tape. In this drawing, the lines are copper tape placements and the dots are LED locations.
-
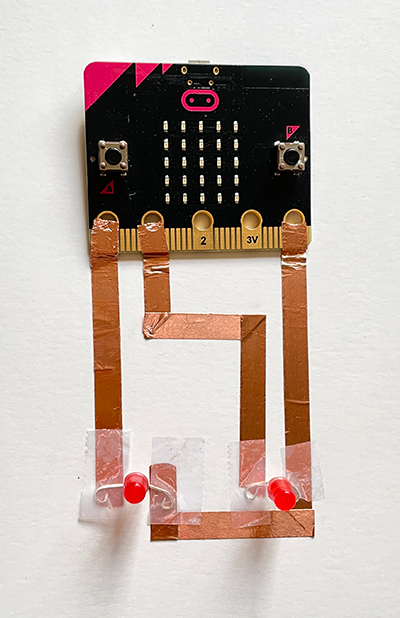
Add copper tape and LEDs. Check that your LEDs are placed in the correct orientation (positive leg on the pin side, negative leg on the GND side).
Tip: It's okay to add more than one LED to a piece of copper tape. Note that both LEDs touch the copper tape that's attached to GND.
Create with Code and Paper
After planning, start building your project both in MicroBlocks and out of paper.
-
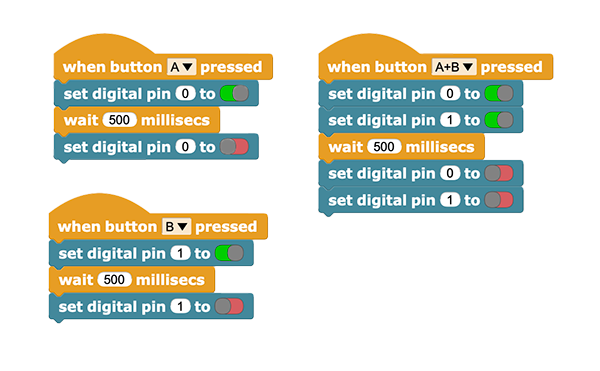
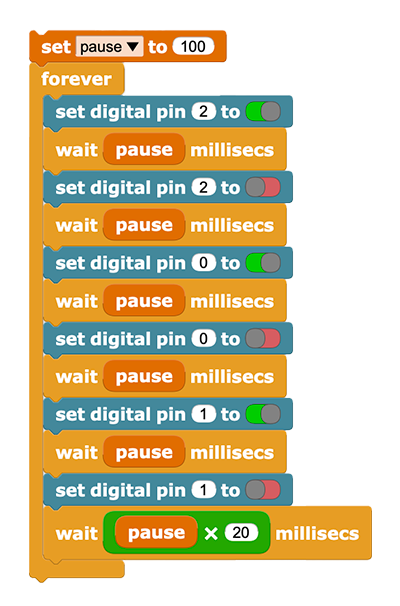
Write the code that will control the LEDs. In this example, the A and B buttons are used to control each individual LED, as well as together when both buttons are pressed.
-
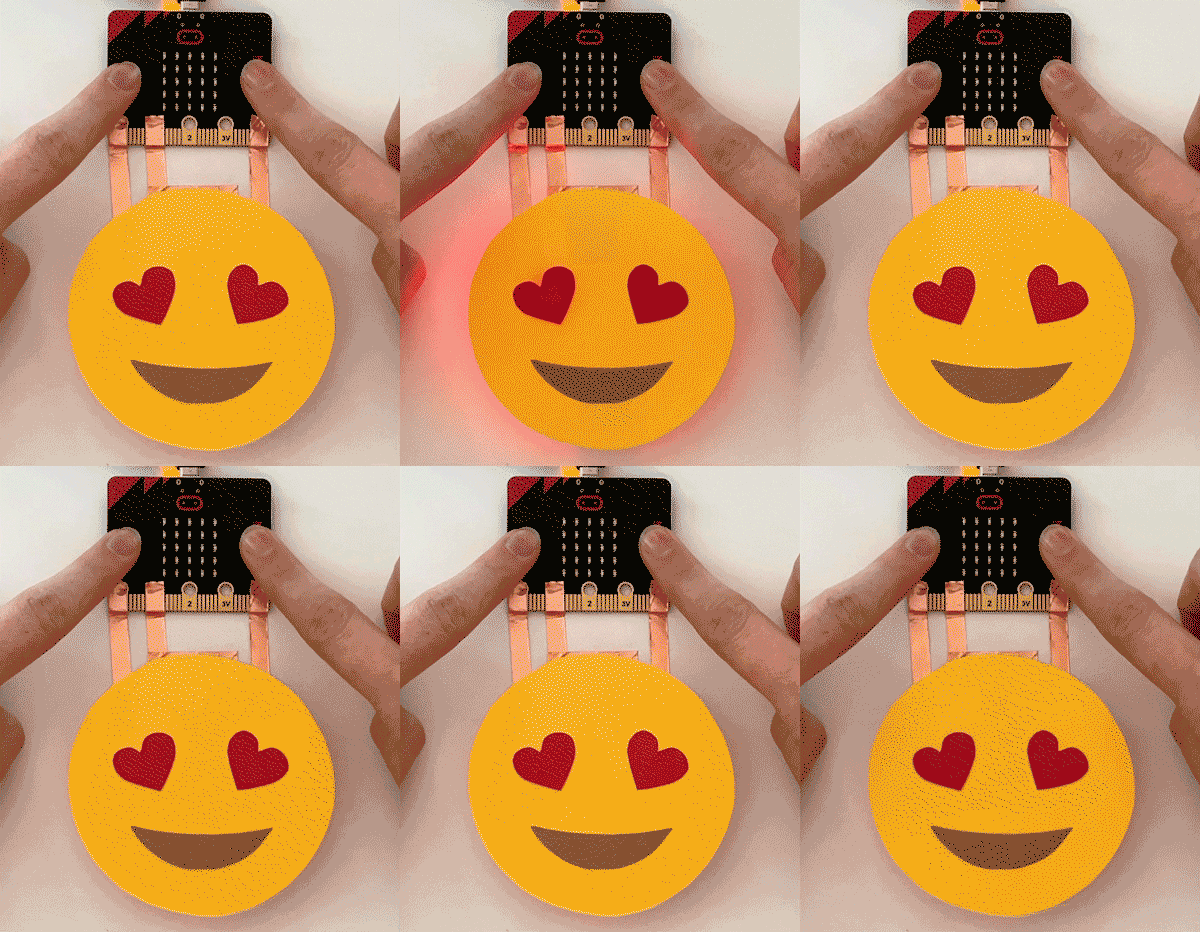
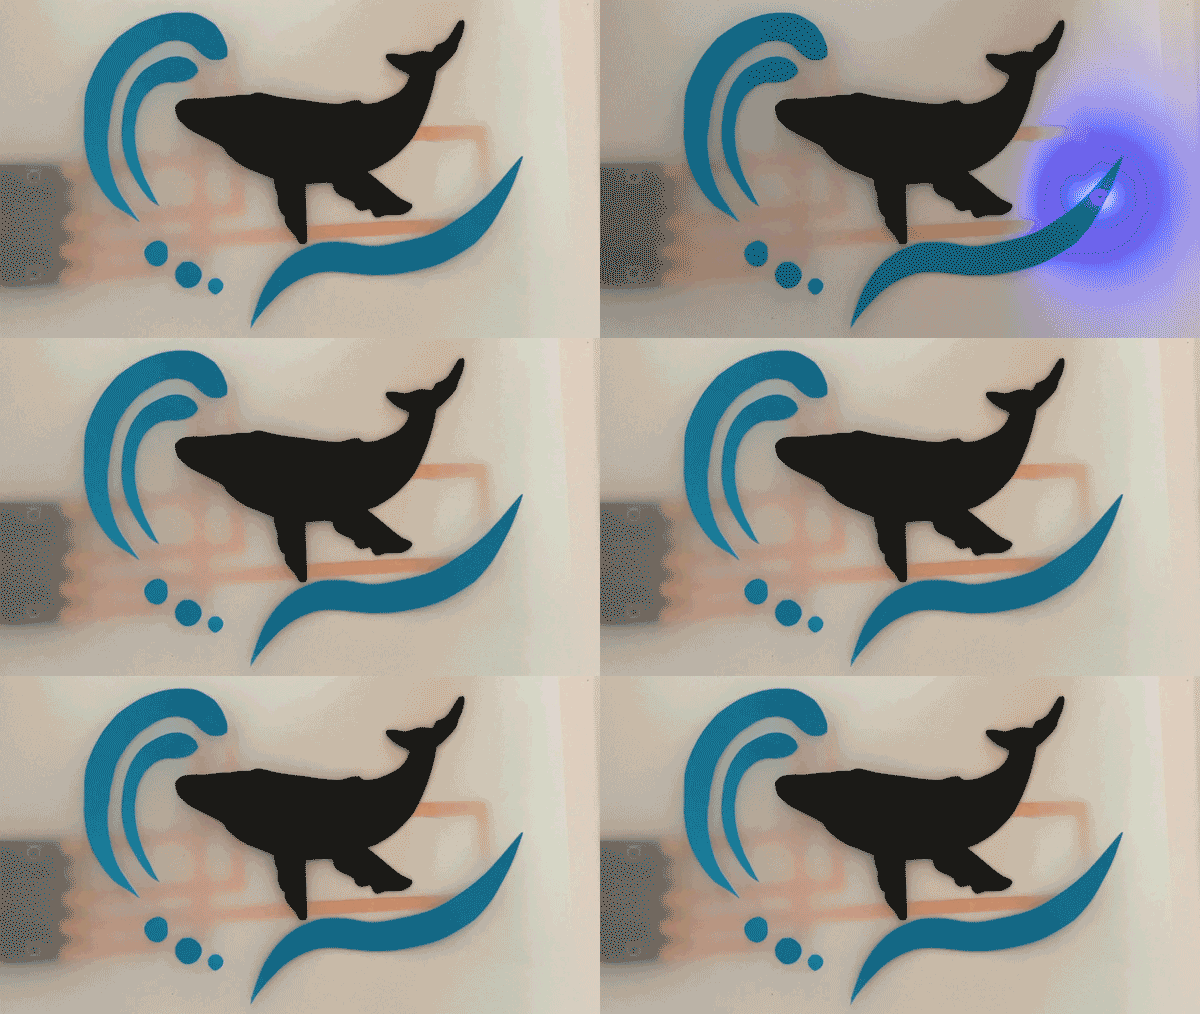
Use paper and any other materials to communicate your story.
Tips
- Multiple LEDs, Same Pin
It's okay to have multiple LEDs attached to the same copper tape. This type of circuit design is called parallel circuit.
A parallel circuit has multiple branches and allows for easier addition of multiple LEDs. In parallel, the LEDs retain most of their brightness.
A series circuit has all elements in a chain, one after another and makes a complete circle. In series, the more LEDs added, the dimmer they become.
In this example, three LEDs are all attached to the same pin. This design works well for LEDs that all use the same code. If you want to control LEDs individually, attach them to separate pins.
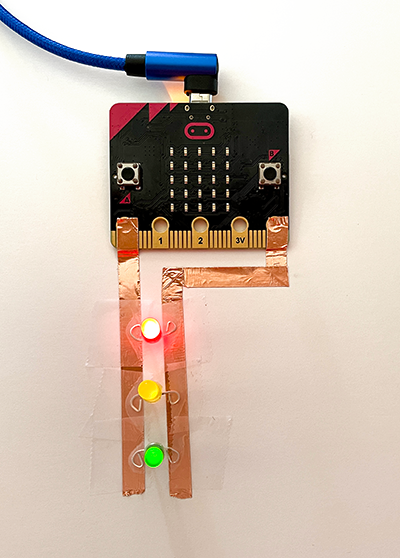
- Multiple LEDs, Different Pins
In this example, three LEDs are connected to three different pins. This allows for each LED to be programmed individually.
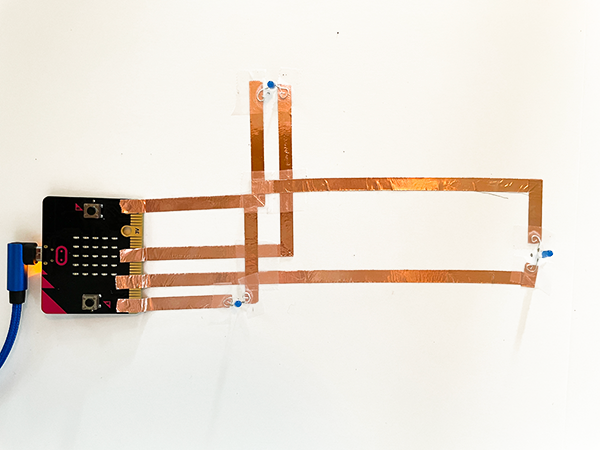
Tip: It's okay to have pieces of copper tape cross over one another. The key is to place something in between the two pieces of copper tape, like paper or clear tape.
In this activity, you created a story out of paper and programmed lights.
 Think first on your own and then discuss with a partner:


