Send a Signal

In this activity, you and a partner will connect your micro:bits and send messages back and forth.
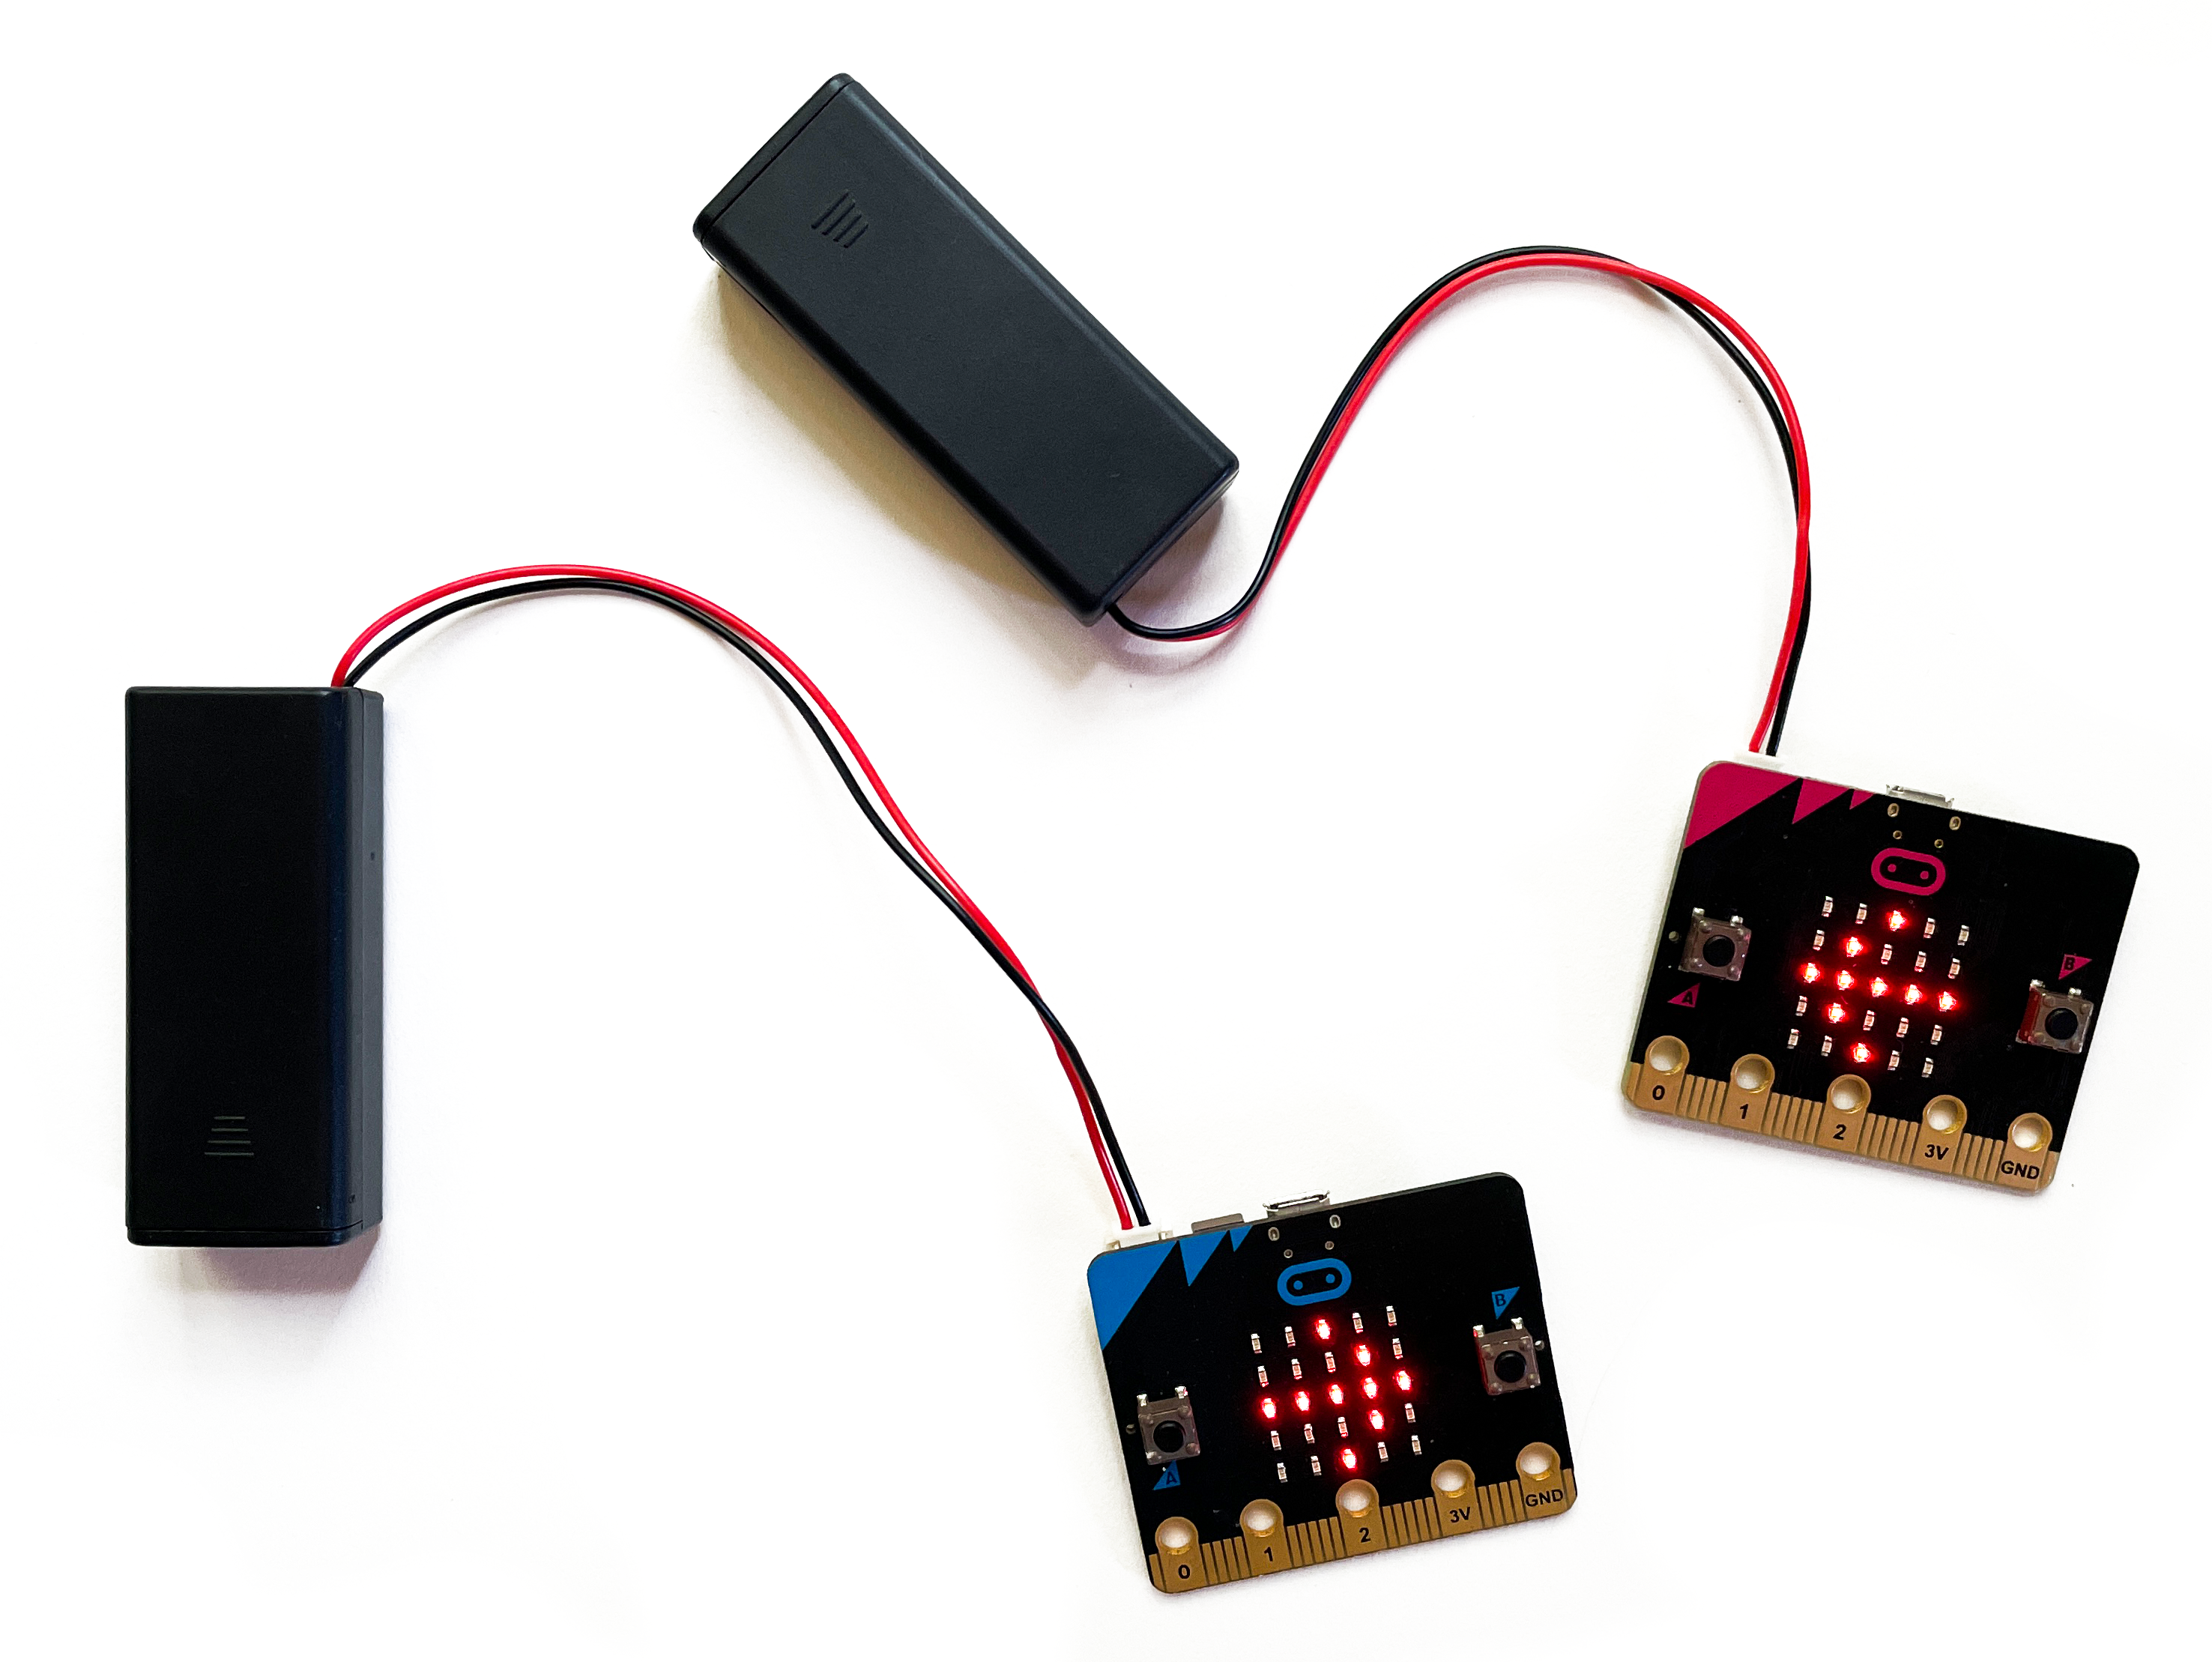
assorted materials for the activity
  1. Gather Materials
    • Two micro:bits
    • Two USB cables
    • Two battery packs
    • Any additional craft materials, if desired


A micro:bit can use radio waves to wirelessly communicate to another micro:bit. One micro:bit can send transmit or a message, the other will receive and can then be programmed to send a message back.

: Radio Communication

Radio is a way of transmitting and receiving information over a distance.

Many micro:bits in the same room can cause interference and confusion when sending and receiving messages. To avoid this, pick a group that you and your partner will join that's unique from other groups. Start by sending a message back and forth with a partner, but know that you can add more than two micro:bits to a group for communication.

radio block to set group number

Text Messaging

Together with a partner, follow along with this example and then make your own.

  1. Add the radio communication library by choosing Library, then Radio and Scroll Text.
  2. Both partners will create messages to send. It's important that these messages are different from one another to start, but this can be changed later on.
  3. Both Partners: Add your group number to the when started block. The smiley face is a visual check for you to see that you are ready to receive radio messages.
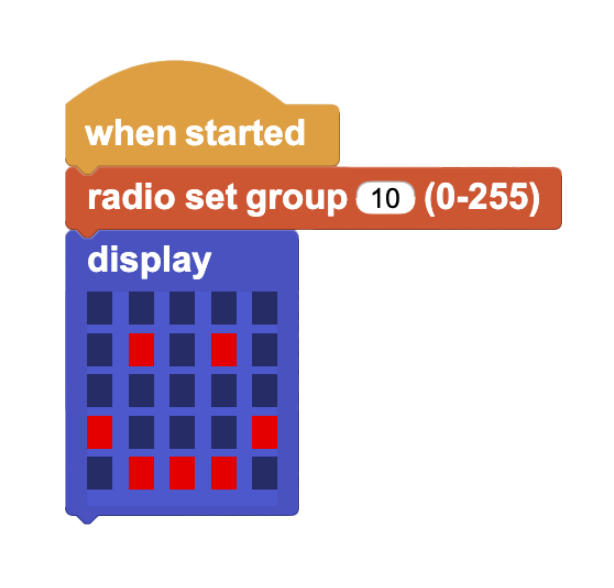
  4. when started, set the radio group number
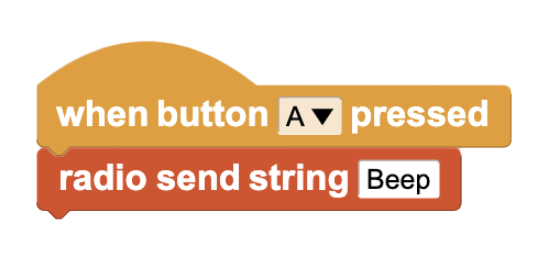
  5. Each Partner: Pick a unique word or phrases to send to your partner. You can use the examples below as a test. In this case, Partner 1 has the message of Beep (left) on their micro:bit and Partner 2 has the message Boop (right).
  6. unique message 1: beep unique message 1]2: boop
  7. Both Partners: Add this final script that checks for whether your micro:bit has received a message. To create it, start with the when block and radio last received? by dragging it on top of the green toggle.
  8. when message received
  9. Start the project by pressing the green play button in the top right hand corner. The new when radio last received? block should illuminate.
  10. highlight message after starting project
  11. Test out your code by pressing the A button on each micro:bit and see your message scroll by.

Send an Integer

In addition to sending text, it's also useful to know how to send numbers using radio. This process is very similar to sending strings, though some of the blocks are slightly different.

radio blocks for using integers
  1. Review how the original messages were sent and created.
  2. Update the code to send and receive messages with numbers (integers).

Begin brainstorming with your partner about a larger project you would like to build that uses radio communication. Consider bringing in tools and techniques that you've already learned to enhance your project (servo motors, LEDs, etc).

In this activity, you learned how to connect two micro:bits wirelessly using the radio feature and sent and received messages from a classmate.