Make It Move
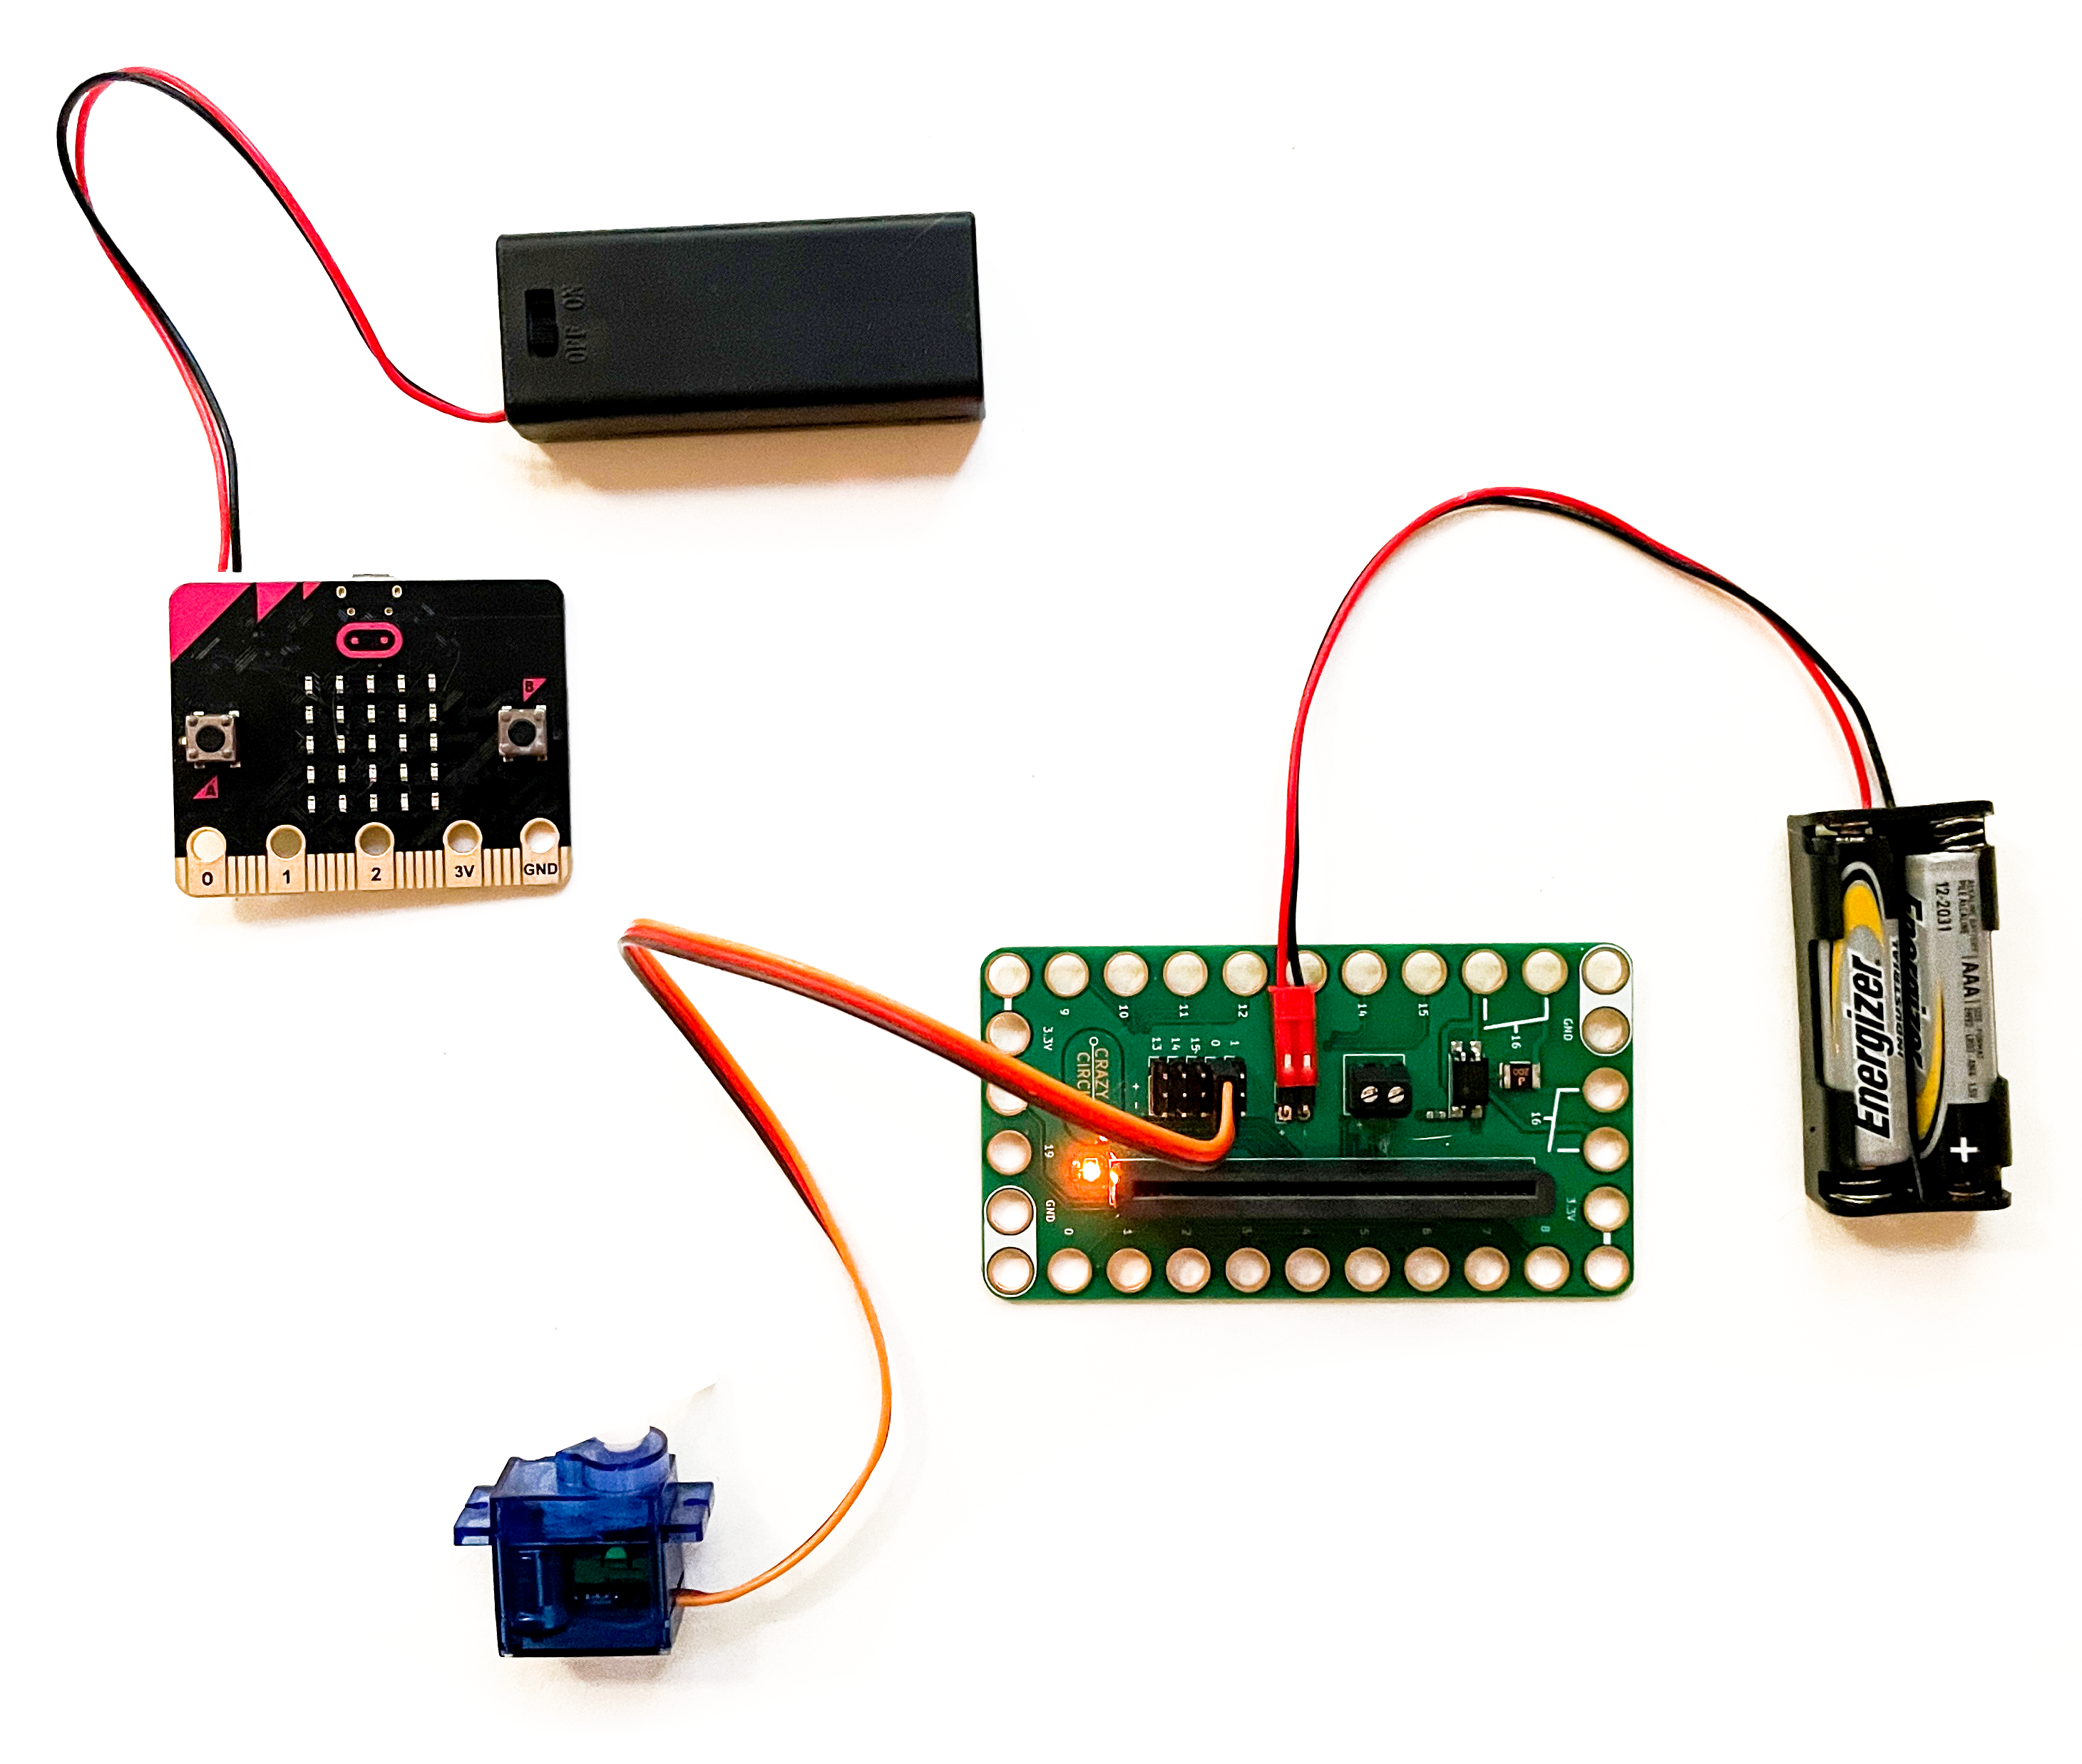
In this activity, you'll learn about servo motors, how to connect one to your micro:bit, and use MicroBlocks to control its movement.
Collect Materials
Get Started
Motors are one way to add movement to your projects. There are many different types of motors, including one called a servo motor.
A servo motor provides position control, so it can be told to move into an exact spot. Its position can be selected from 0 to 180 degrees.
- Insert your micro:bit into the Bit Board, pins facing down.
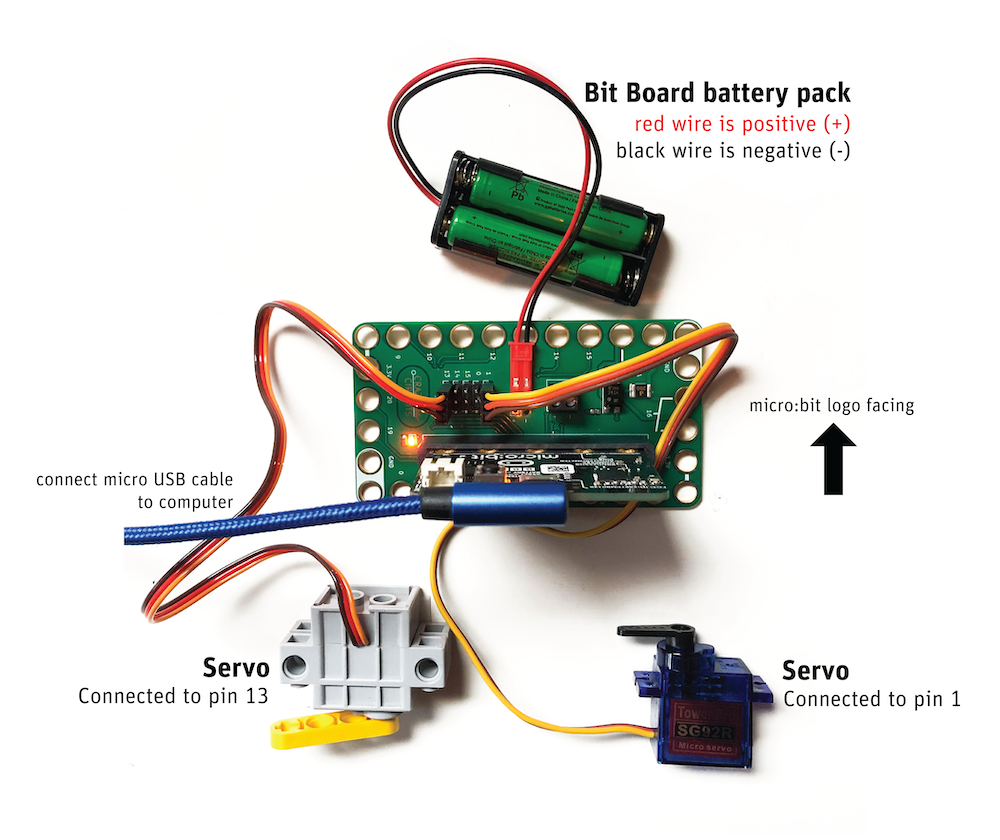
- Connect a servo to the pins on the Bit Board, making note of which pins. Use the following image as reference for setup.
The direction you plug things in matters! The LEDs on the micro:bit should be facing out when plugged into the Bit Board. The colors of the servo wire should match the colors of the pins on the Bit Board. And if you are using the battery pack, the red wire should be plugged in to the "+" side and the black wire should be plugged in to the "-" side.

- Add the servo library in MicroBlocks by selecting Library, and then Servo.ubl.

Control the servo motor by using the servo motor blocks. After adding the servo library, you'll have the following blocks available:

-
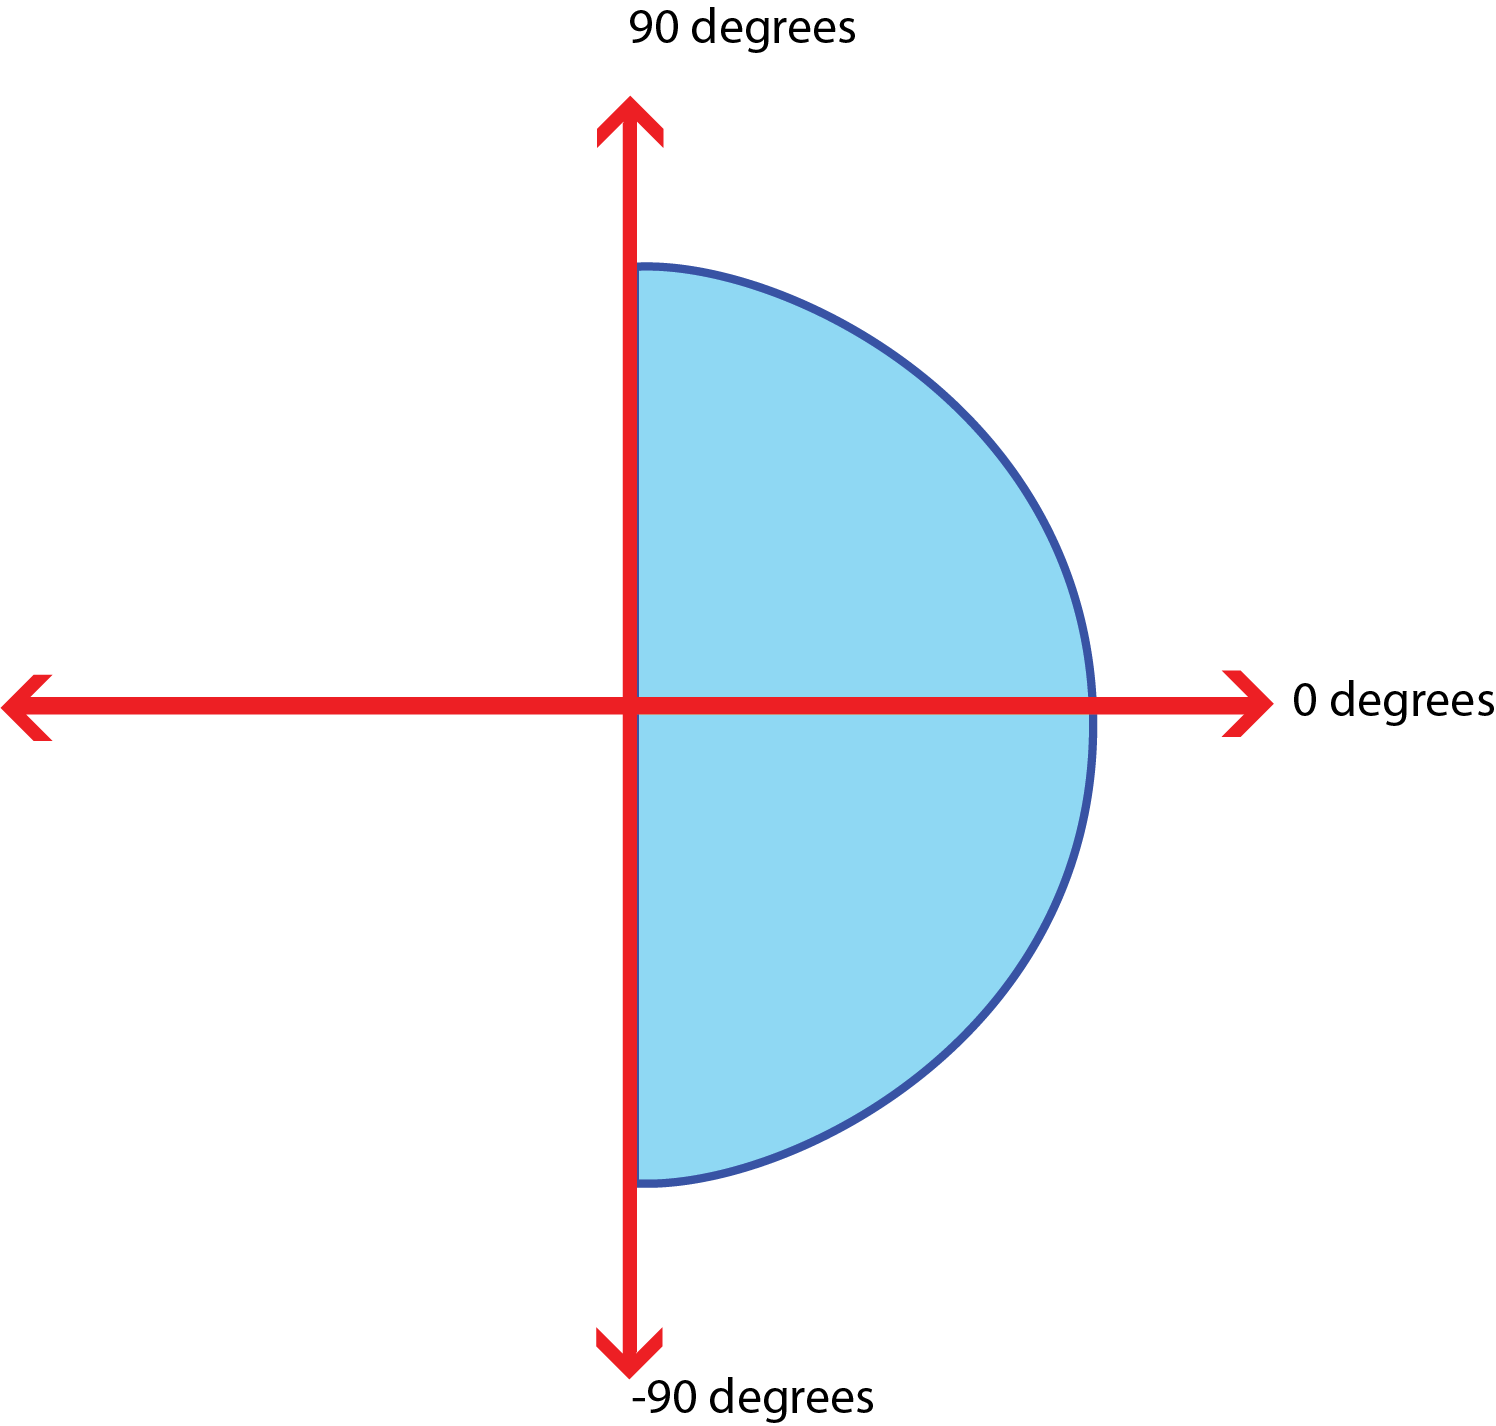
set servo to degrees moves the servo arm to a particular position in degrees. The range of -90 to 90 degrees is equivalent to 180 degrees. Be sure to address the right servo (check your Bit Board to see which port your servo is connected to, and use the following chart as reference for determining servo position in degrees.
set servo to speed determines the speed at which the servo moves. The speed range is from 0 to 100, and the sign (positive or negative) determines the direction it turns.stop servo stops the servo's movements.
Tip: Each block asks to specify which the servo number. Check which port your servo is plugged into on the Bit Board. The available options are 0, 1, 13, 14, or 15.
Add Movement
Now that you've set up your micro:bit and servos, make your first movement. Use the set servo to degrees block to make the servo move, and change the sign (positive and negative) to switch the direction.
- Make your servo move using at least two blocks.
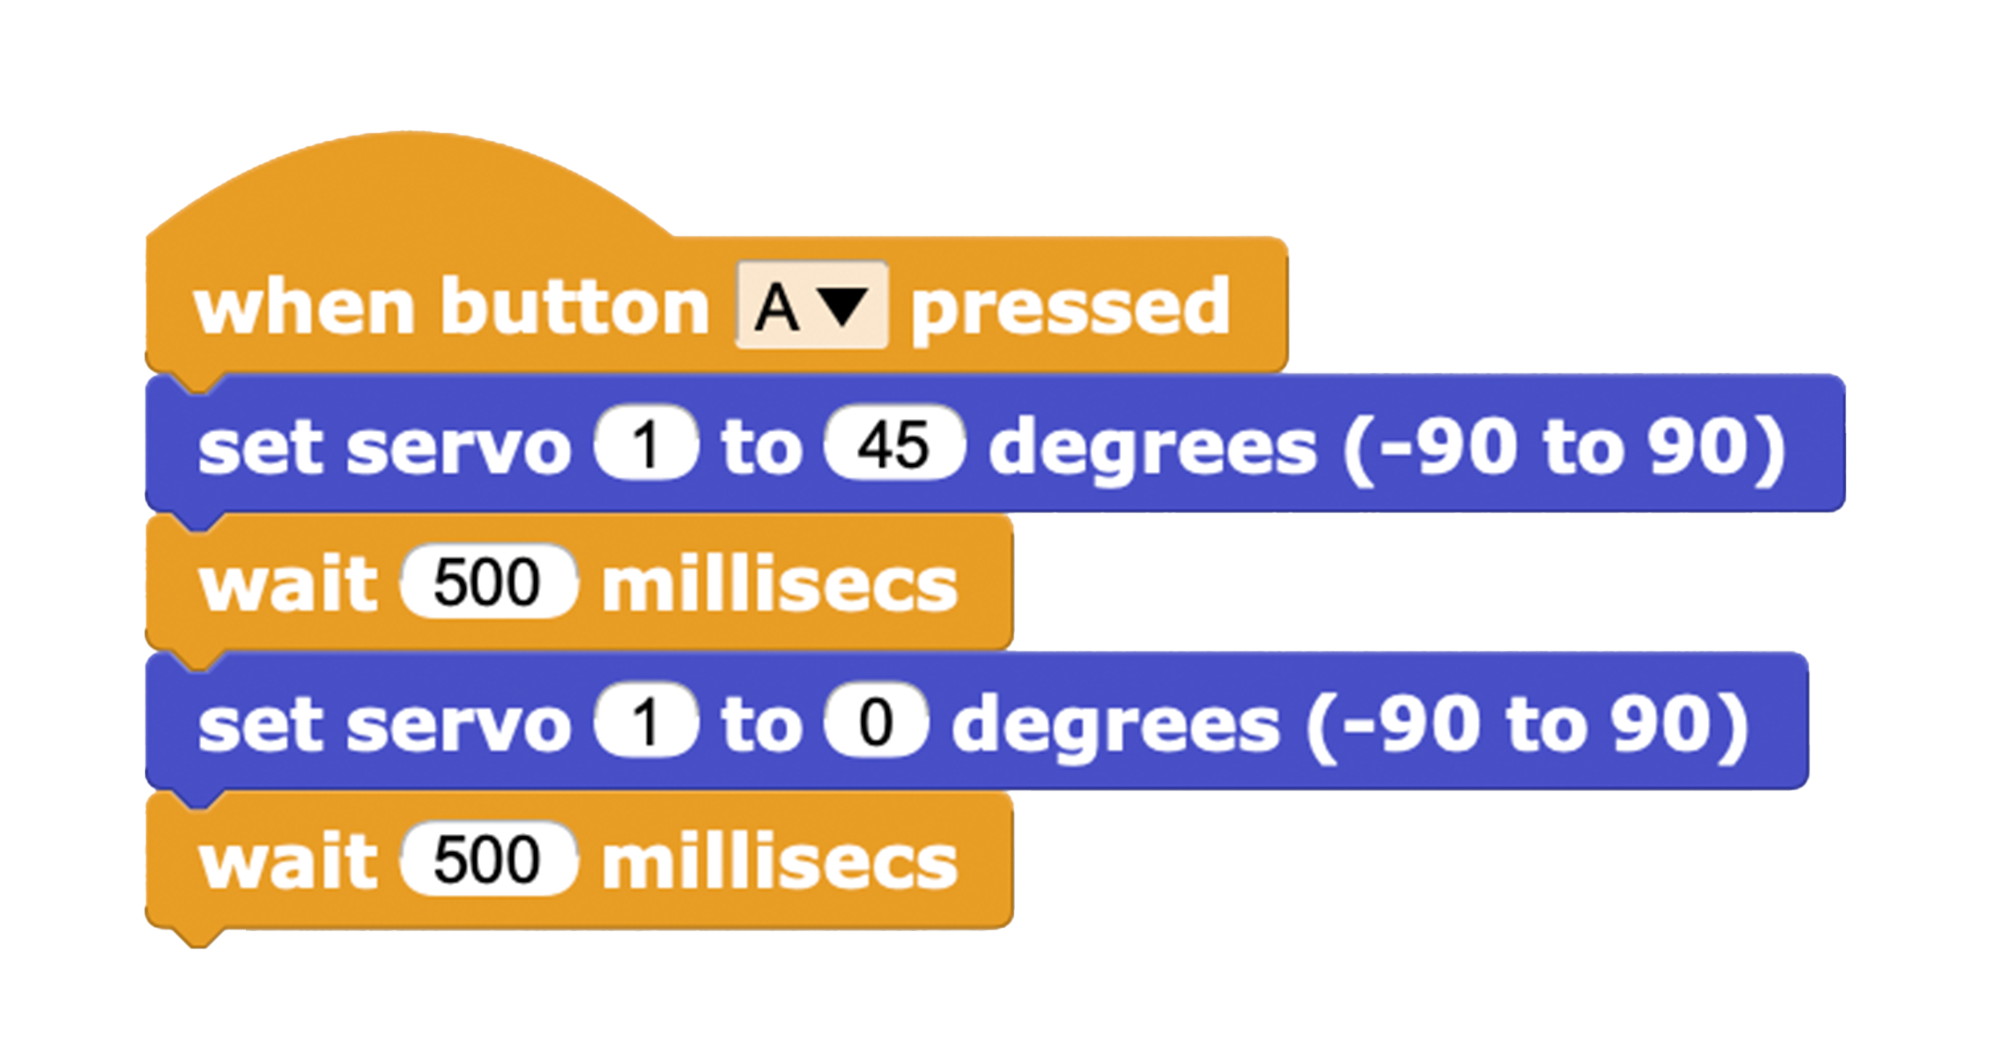
In this example, the servo motor moves twice with a wait block to add a pause between movements. This script starts by pressing the A button.

Add Another Type of Movement
There are many ways to make a servo move: big or small, quick or slow, with pauses or rapid succession, the choice is yours!
-
Create a second servo movement.
This example uses the B button to reset the servo's position.

Now that you've made two different movements with your servo, consider making something more complex using different micro:bit
inputs. Or add more than one servo to your Bit Board to control multiple motors simultaneously.
In this activity, you learned how to connect a servo motor to your micro:bit and make it move in MicroBlocks.


